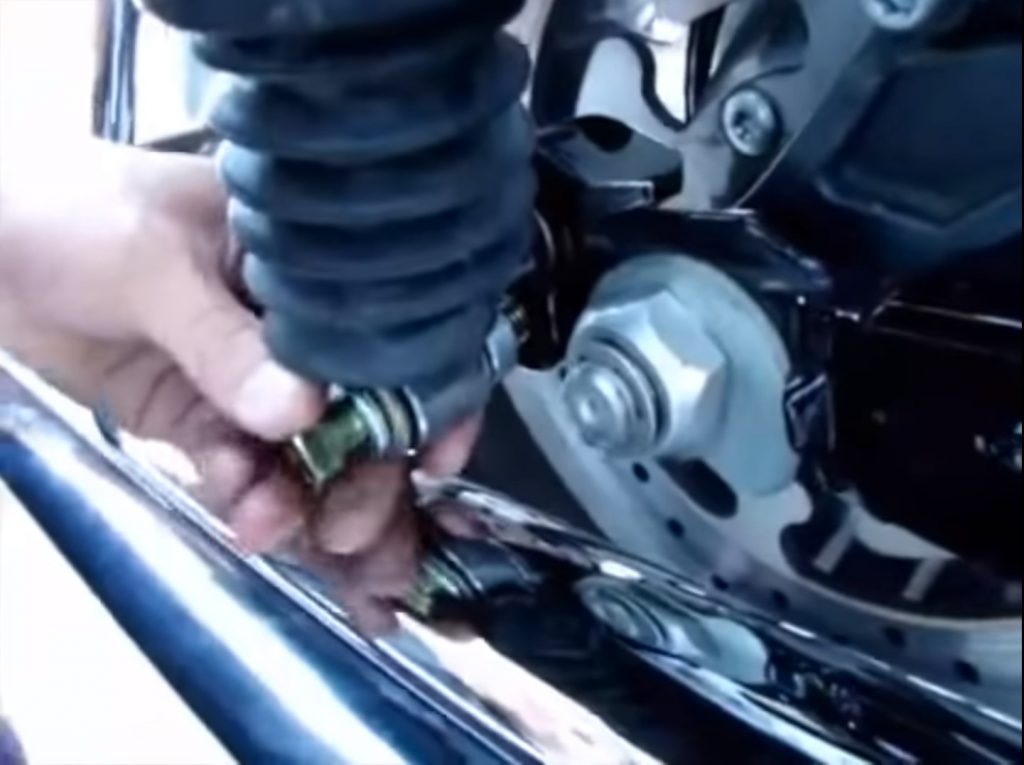
Editor’s Note: This article is for motorcycle events enthusiasts. The install instruction is shared by Dennis, a motorcycle aficionado as well the owner of the Youtube Dennis Kirk, Inc. He installed MaXpeedingRods rear lowering kit on his Harley Road Glide FLTR. You can follow the same instruction on a Road Glide FLTR from 2017 to 2019.
What does the rear lowering kit cover?
left block: 1
2 right block: 2
shorter 1/2 “- 13 UNC*50 full thread bolts: 2
4 longer 1/2″- 13 UNC*50 full thread bolts: 2
M12 washer: 2
How to install the rear lowering kit?
Step 1: Remove the saddlebags and store them in a safe place where they won’t get nicked or scratched.
Step 2: Jack the bike up to just get the weight off the back wheel.
Step 3: Remove the shocks by taking off the nuts on the shocks.
Step 4: Add the blocks on, and tighten with the shorter bolts.
Step 5: Reinstall the shocks using the supplied bolts flat washer and lock washers and spacers and supplied with the kit. Make sure the steel spacer goes on the bottom and the aluminum spacer goes on the top.
Step 6: Double-check all your work and make sure nothing is pinched or bound up.
Step 7: Reinstall the saddlebags.
Bolts are like the joints of the motorcycle and automobile. Make sure that all the bolts are tightened to avoid any damage during driving. MaXpeedingRods is not responsible for any loss caused by improper operation.

