Editor’s Note
Building a project car doesn’t have to drain your wallet—just ask 79th Productions. In his latest build, he takes a neglected Civic and transforms it into a clean, functional, and stylish ride with a budget-conscious restoration and upgrade plan.

Be sure to check out the video for the full restoration and modification of his $400 Honda Civic.
Step 1: Engine Bay Restoration & Paintwork
Before tackling performance, 79th Productions focused on aesthetics and reliability. The engine bay was first stripped down, cleaned, and prepared for a fresh coat of paint.
Preparation:
Sanding with Scotch Brite and 32-grit sandpaper, followed by thorough cleaning.

Painting Process:
A primer base coat was applied to ensure durability, followed by two layers of British Racing Green for a classic look. The process was completed with a clear coat for added protection.

Attention to Detail:
Areas not being painted were carefully masked off to maintain a clean and professional finish.
Step 2: Engine Repair & Rebuild
The D16Z6 engine was in rough shape, suffering from low compression and worn valves. Instead of replacing it, 79th Productions took a DIY approach to rebuild it on a budget.
Valve Restoration:
Using a $2 valve grinding compound, he hand-polished the valves to improve sealing and reduce carbon buildup.

DIY Techniques:
A C-clamp and zip ties were used instead of a professional valve spring compressor, proving that ingenuity beats expensive tools when working on a budget.

Compression Fix:
After repairs, the compression across all cylinders reached 120 psi, well within an acceptable range for a running engine.

Step 3: Bodywork & Full Exterior Paint Job
To restore the Civic’s exterior, extensive bodywork was done to correct rust, dents, and imperfections.
Dent Removal:
Marking and sanding the damaged areas down to bare metal before applying a lightweight body filler.

Precision Work:
Sanding with 220-320 grit ensured an even surface, while a guide coat helped identify high and low spots.

Final Paint Process:
-Wet sanding (500 grit) for a smooth finish.
-Primer application, followed by base coat and clear coat.
-Minor clear coat imperfections were left for later correction.

Step 4: Chassis & Suspension Upgrades
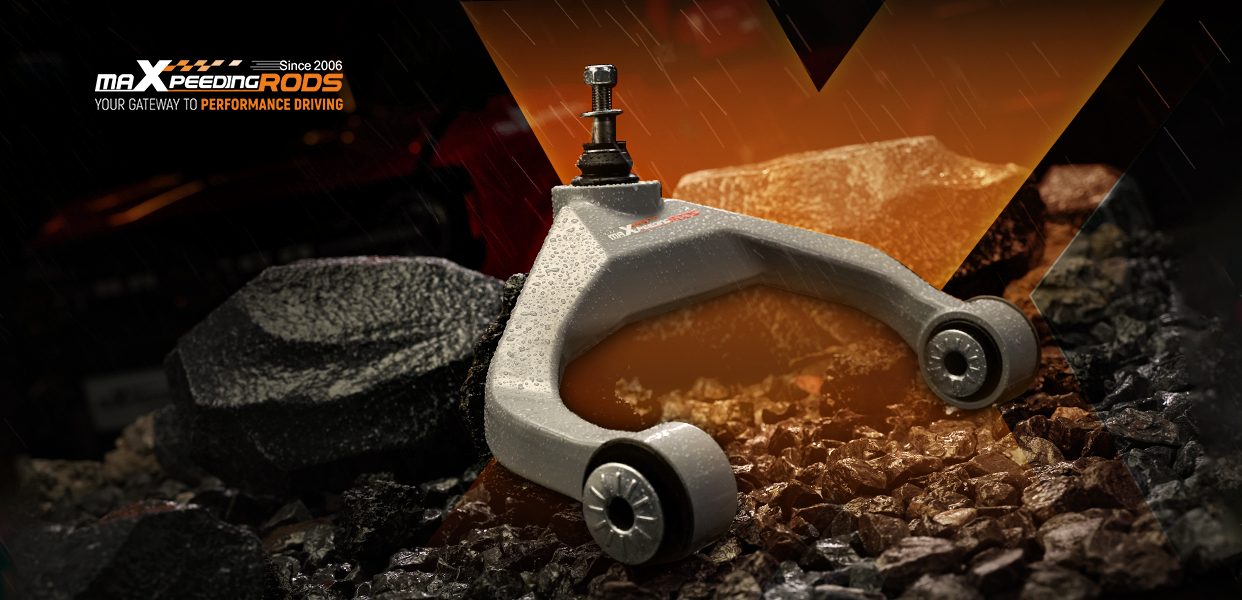
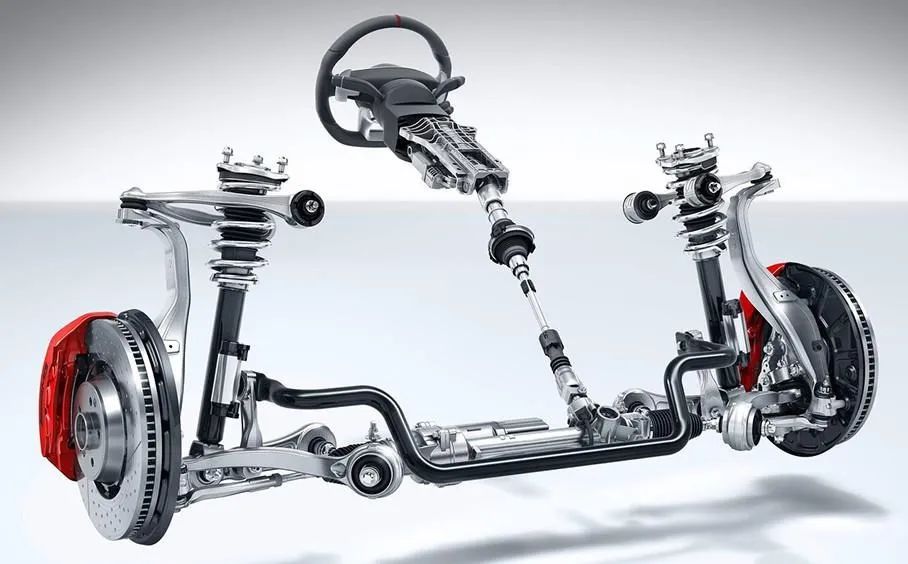
Performance wasn’t overlooked. To improve handling and stance, he installed a set of MaXpeedingRods T7 coilovers, allowing ride height adjustment and improved cornering stability.

Wheel Fitment:
A fresh set of wheels was added to enhance the stance and performance.

Step 5: Electrical & Fuel System Fixes
Getting the car running smoothly required some electrical and fuel system troubleshooting.
Engine Wiring: The injector harness and other key connections were carefully installed to ensure the engine ran properly.
OBD Conversion: A $15 OBD1-to-OBD2 adapter harness was used for a plug-and-play distributor installation, avoiding costly modifications.
Fuel System Restoration: The old gasoline was completely drained and replaced, resolving initial starting issues.
Step 6: Final Adjustments
Once everything was reassembled, the Civic fired up and ran well—though a bit of oil burn-off caused temporary smoke, which cleared up after some driving.


Total Budget
Around $3,000, covering the car purchase, paint, bodywork, engine rebuild, and second-hand parts like a clutch.
Final Thoughts
79th Productions’ project proves that you don’t need deep pockets to build a great car. Through DIY work, smart part selection (like MaXpeedingRods coilovers), and strategic upgrades, he successfully turned a $400 Civic into a capable and exciting car.
If you’re considering a budget-friendly restoration, take inspiration from this project—smart choices, patience, and a bit of creativity can turn any neglected car into something special!


