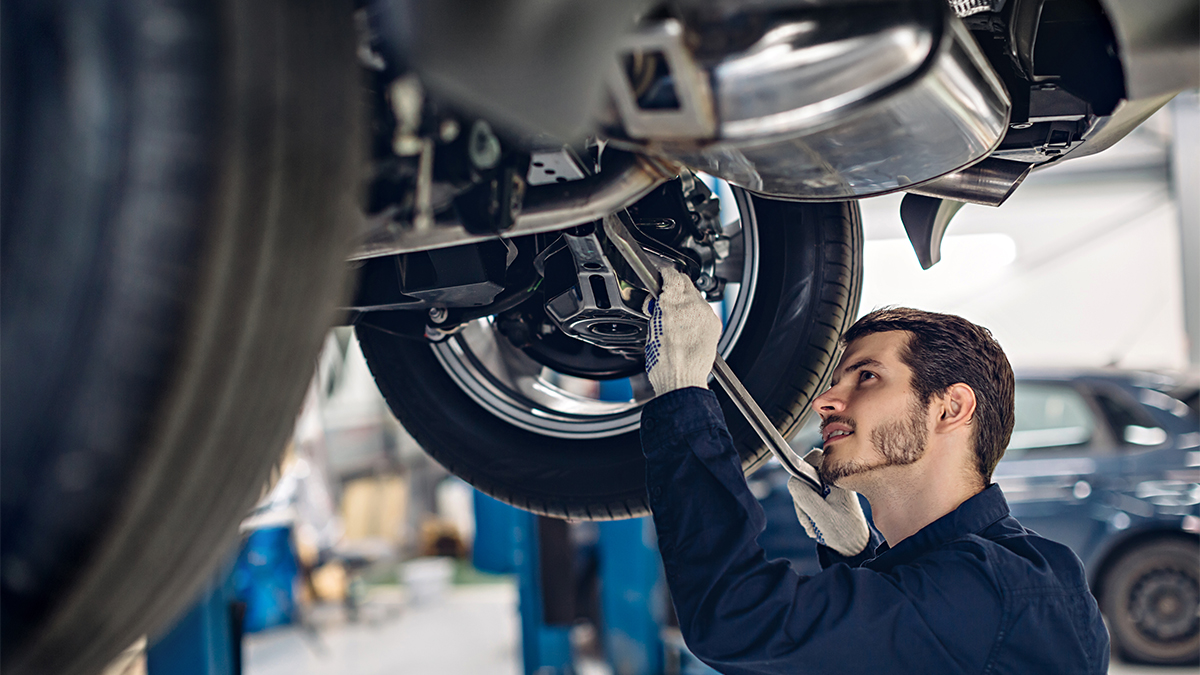
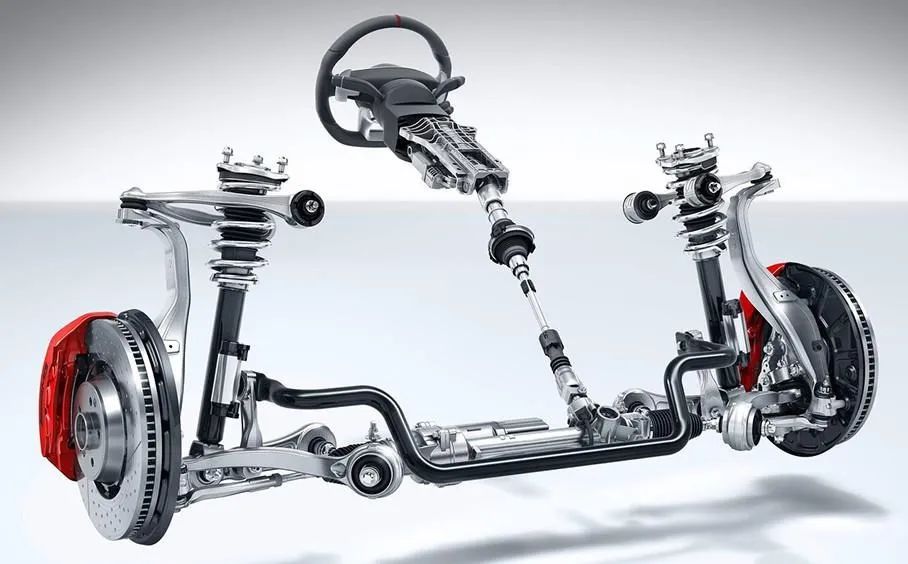
Noise issues with upper struts are a common occurrence and are prone to issues with shock mounts. If you’ve recently installed coilovers on your vehicle, you may have noticed an unwelcome noise from the upper strut. This can be a frustrating issue, as it not only detracts from the performance and handling of your car but can also be a safety concern.
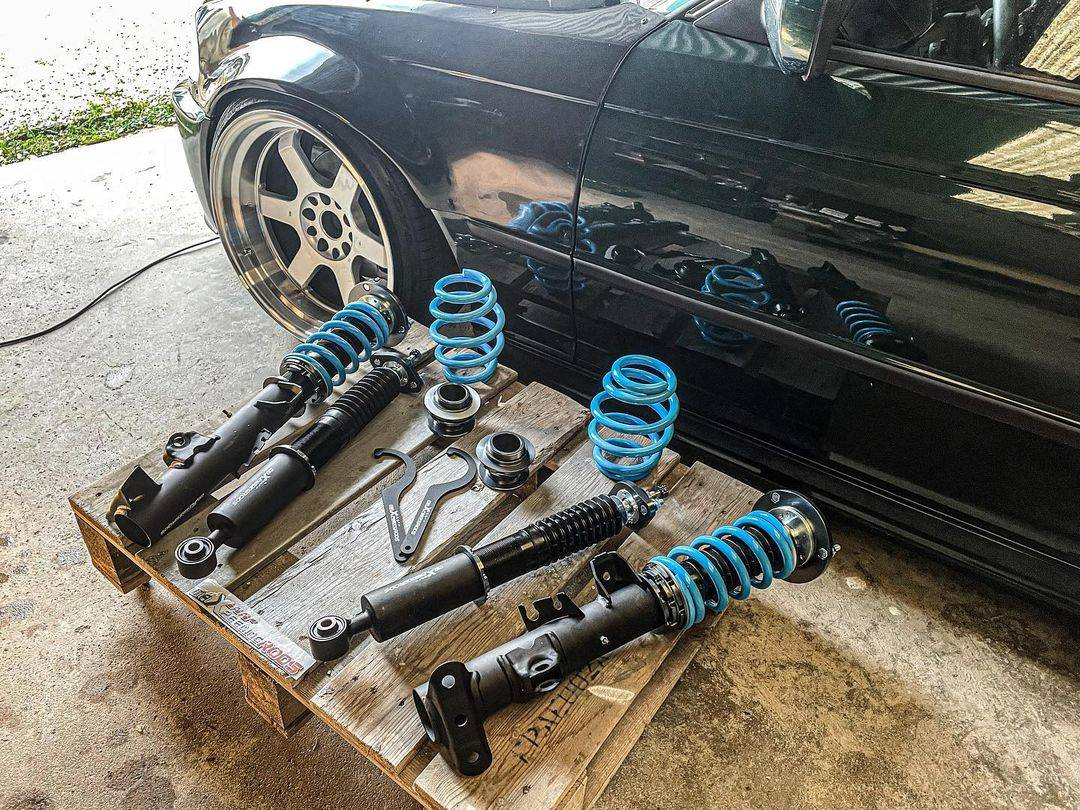
Fortunately, there are steps you can take to fix this problem and restore the smooth, quiet ride you deserve. In this blog post, we’ll cover the basics of coilover noise, how to identify the problem, and most importantly, how to fix it.
Improper Coilover Preload
Preload refers to the amount of tension applied to the coil spring when the coilover is installed. It’s an important factor in reducing noise and ensuring proper suspension performance. If the preload is too low, the spring can move around and make noise. If it’s too high, it can cause the suspension to be overly stiff and uncomfortable.
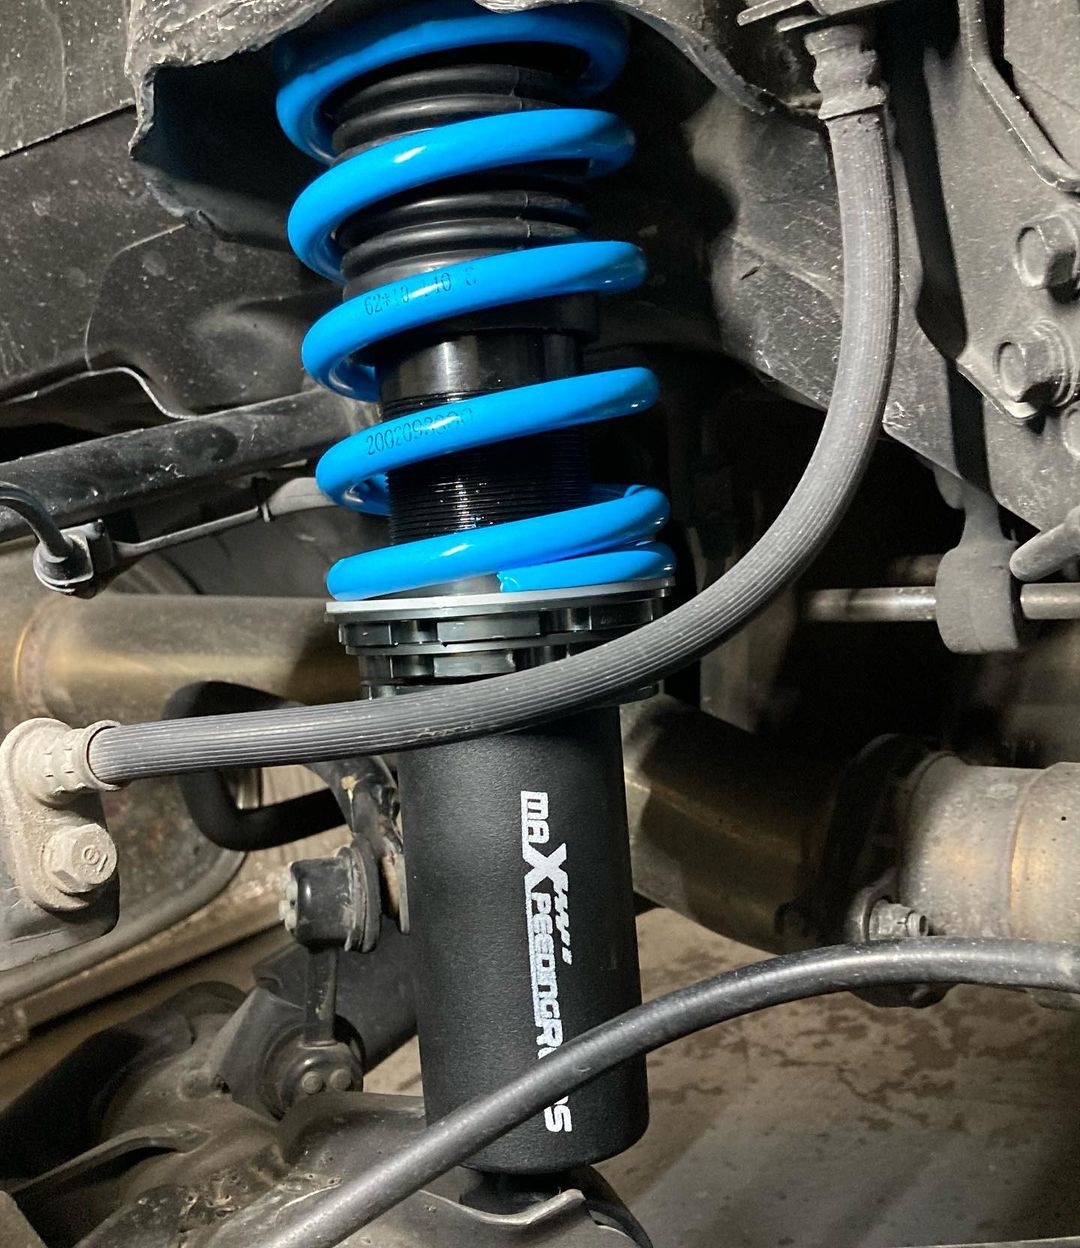
You can perform a simple test to determine whether the noise is due to insufficient preload. Spin the coil spring by hand with the car jacked up and the wheel removed. If it spins easily, then the preload is likely too low. If it’s difficult or impossible to turn, the preload may be too high or just right. Suppose you’ve identified that the noise is due to insufficient preload. In that case, the good news is that it’s a relatively easy fix. By increasing the amount of tension on the spring, you can reduce movement and eliminate noise.
To increase preload, start by loosening the locking ring on the coilover. This ring sits on top of the spring and secures it in place. Use a spanner wrench or pliers to turn the ring counterclockwise and loosen it slightly. Next, use your hand or a spring compressor tool to compress the spring slightly. This will create more tension on the spring and allow you to tighten the locking ring more effectively.
Once the spring is compressed, use your wrench or pliers to turn the locking ring clockwise and tighten it. Be sure to tighten it enough that the spring can no longer be easily spun by hand but not so much that the suspension becomes overly stiff. Once you’ve tightened the locking ring, take the car for a test drive to let the spring seat settle into its new position. You may notice some noise initially, but this should go away as the suspension settles in.
Worn-Out or Loose Components
The strut housing, spring seat, and upper strut mount are all susceptible to damage over time due to exposure to the elements and regular wear and tear. While it may be tempting to reuse old mounts and hardware to save money, the potential risks and drawbacks make investing in new parts a wise choice for the long-term health of your vehicle. That’s why we advise when installing new coilovers, new mounts, and mounting hardware are inevitable. It helps ensure proper alignment and suspension performance, reduces noise and vibration, and improves safety.
Loose hardware can also contribute to noise, allowing the components to move around more freely and create unwanted vibrations. If you suspect that loose parts cause your upper strut noise, tighten all bolts and hardware to the manufacturer’s specifications to prevent further movement and noise.
If the noise happens when driving over bumps, the upper mounting plate should be carefully inspected and replaced if necessary. On the other hand, if the noise occurs while turning, it’s likely that the upper bearing assembly is the culprit and should be inspected and replaced. Checking the strut mounting hardware is essential, as over-torqued or worn-out components can cause noise.


