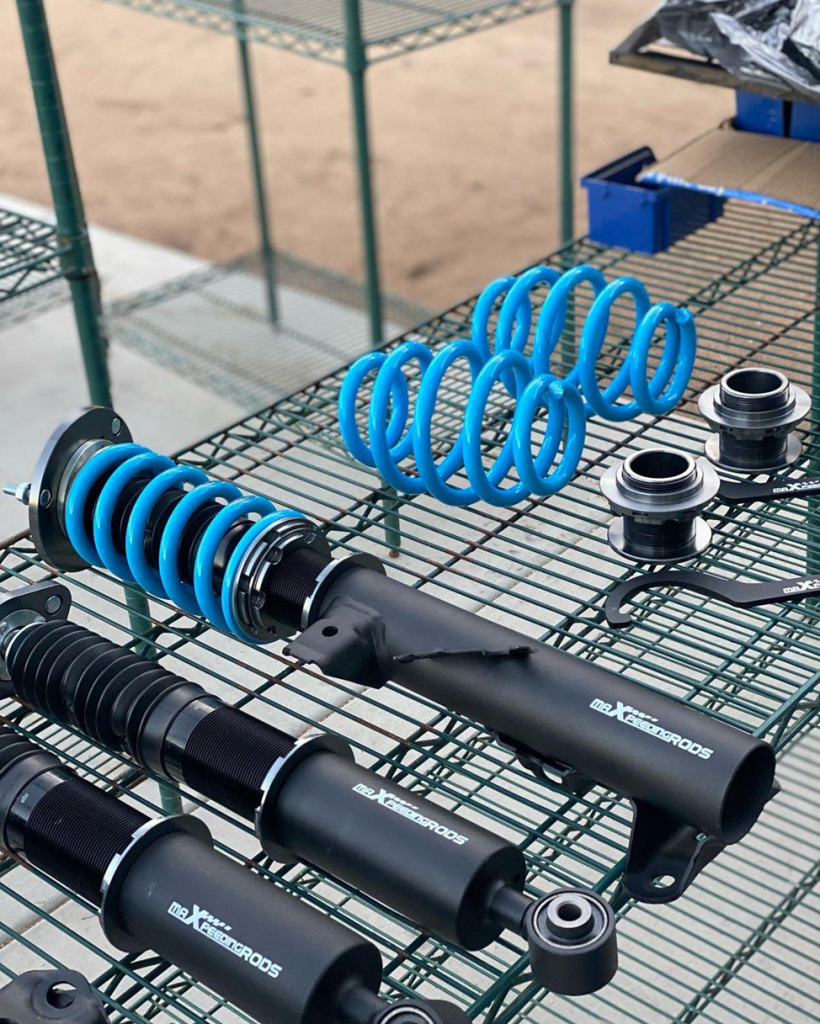
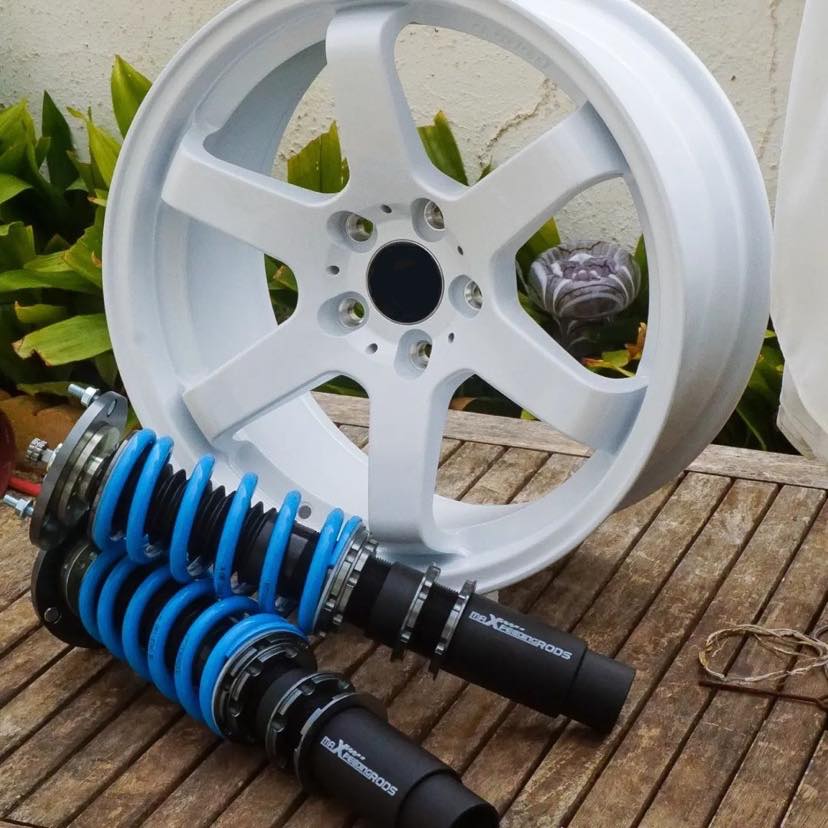
MaXpeedingrods coilovers are a popular suspension upgrade for many car enthusiasts, and for good reason. They offer several benefits over stock suspension systems. One of the major benefits of coilovers is that they can significantly improve your car’s handling and performance. Coilovers are adjustable, which means you can fine-tune your suspension to suit your driving style and the conditions you’re driving in. You can adjust the ride height, spring rate, and damping settings to achieve the ideal balance of comfort and performance.

Installing coilovers on your vehicle can be a great way to improve its handling and overall performance. However, it is a tedious process that requires a good amount of mechanical skill, knowledge, and tools. Here is a general guide on how to install coilovers on your car:
Note: The installation process may vary depending on the make and model of your vehicle. It is always recommended to refer to the specific manufacturer’s instructions for your particular coilovers and vehicle.
Step 1: Gather your tools and equipment
Before you start, make sure you have all the necessary tools and equipment, including a jack and jack stands, a set of sockets and wrenches, a torque wrench, pliers, screwdrivers, and penetrating oil.
Step 2: Raise the car
Park your car on a flat surface, engage the parking brake, and use a jack to raise the car. Place jack stands under the car for additional support and safety. But never depend solely on the jack to support your vehicle. Never leave any part of your body under the vehicle longer than you have to.
Step 3: Remove the Strut
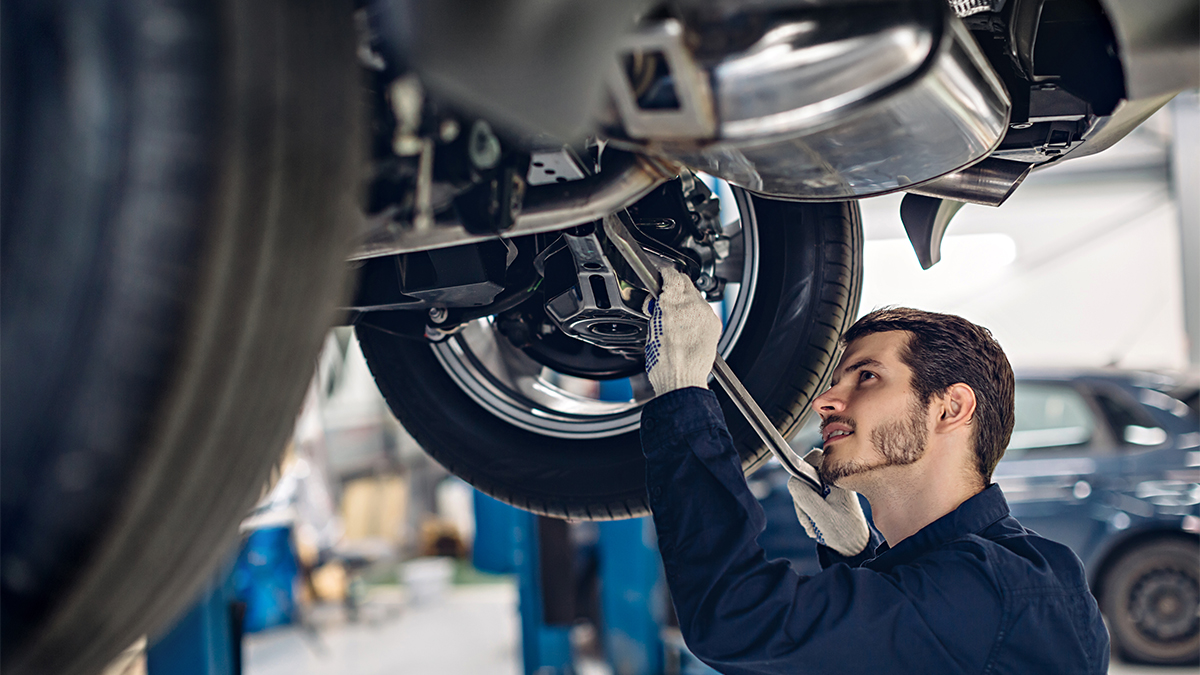
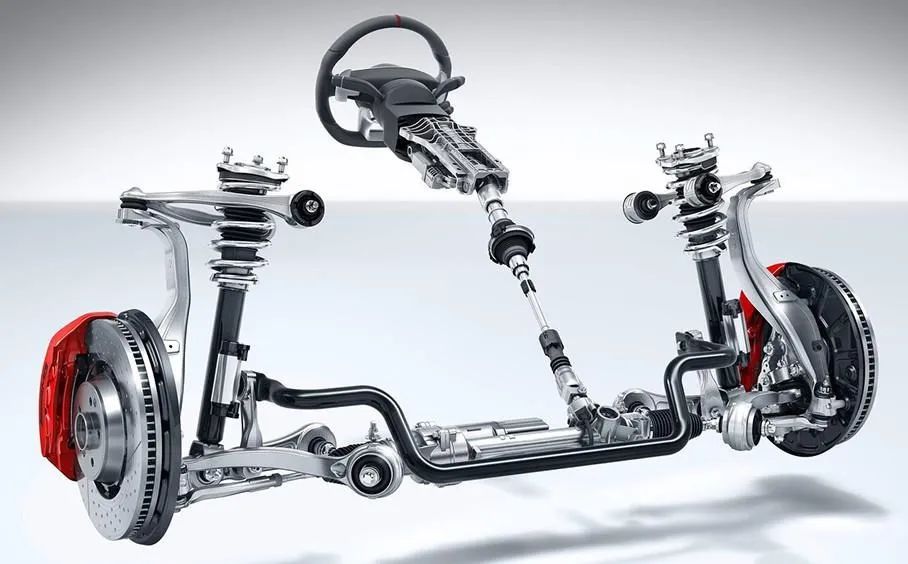
Remove the wheels and tires from your car. Locate the old suspension components, including the shocks, struts, and springs, and remove them using the appropriate tools. Depending on the type of suspension, you may need to remove additional parts such as control arms, sway bars, and brake lines. Normally, there will be one center nut for the strut shaft, and three around the tower’s top perimeter. There also be one bolt at the bottom. To remove the strut assembly, you may have to remove some bolts from the upper and lower control arms. You can also check and replace worn bushings at this time. Also, inspect the removed bolts and replace them if needed.
Maxpeedingrods T6 coilovers use poly bushings, which generally don’t make any noise with proper installation. so, this can save you a bit of money later on.
Step 4: Install the new coilovers
As each manufacturer will put their spin on it, make sure to follow the manufacturer’s instructions to install the new coil overs, including the springs, shocks, and any other necessary components. After installing, you may have to install and adjust the camber plate, along with any brake/ABS lines you loosened and swaybar end links.
Once installed, check that each coilover exposed the same amount of threads and that the same axle is at the same height.
Step 5: Tighten the bolts to the correct torque
Be sure to tighten all the bolts to the proper torque settings specified by the manufacturer. The keyword “proper”, and proper torque is really important. Not properly torquing the fasteners can damage the bushings and bearings, and then cause noise, and premature wear issues.
If you have MaXpeedingrods coilovers it’s a good idea to follow our recommended torque sequence.
Step 6: Reinstall the wheels and tires
Once the coilovers are installed and tightened, reinstall the wheels and tires, drive the vehicle for at least a few yards and lower the car down and roll it back and forth a few times, and let it settle out. Measure the ride height again, then adjust the spring preload up or down basic on your wants.

PS: The ride height is from the bottom of fender to the center of the wheel. A youtube video about how to measure the ride height here.
Step 7: Lower the car
Use the jack to carefully lower the car and remove the jack stands. Make sure the car is level and check the ride height to ensure it is set correctly.
Step 8: Test drive and adjust as necessary
Take your car for a test drive to ensure that the coilovers are working properly and that there are no unusual noises or vibrations. If necessary, adjust the ride height or damping settings to fine-tune the suspension to your liking. for example alignment issues, if it has s poor handling in corners or its steering wheel isn’t centered in straight. alignment issue. You’d better re-torque the bolts.
In conclusion, installing coilovers can be a challenging task, but it can also greatly improve your car’s handling and performance. Follow these steps carefully, and refer to the manufacturer’s instructions for your specific coilovers and vehicle to ensure a successful installation. If you’re not confident in your ability to complete this task on your own, consider seeking the help of a professional mechanic.


