Editor’s Note: In this article, our friend Juho Mäki-Petäjä, from Finland, shares us his real-world experience on MaXpeedingRods’s air heater.
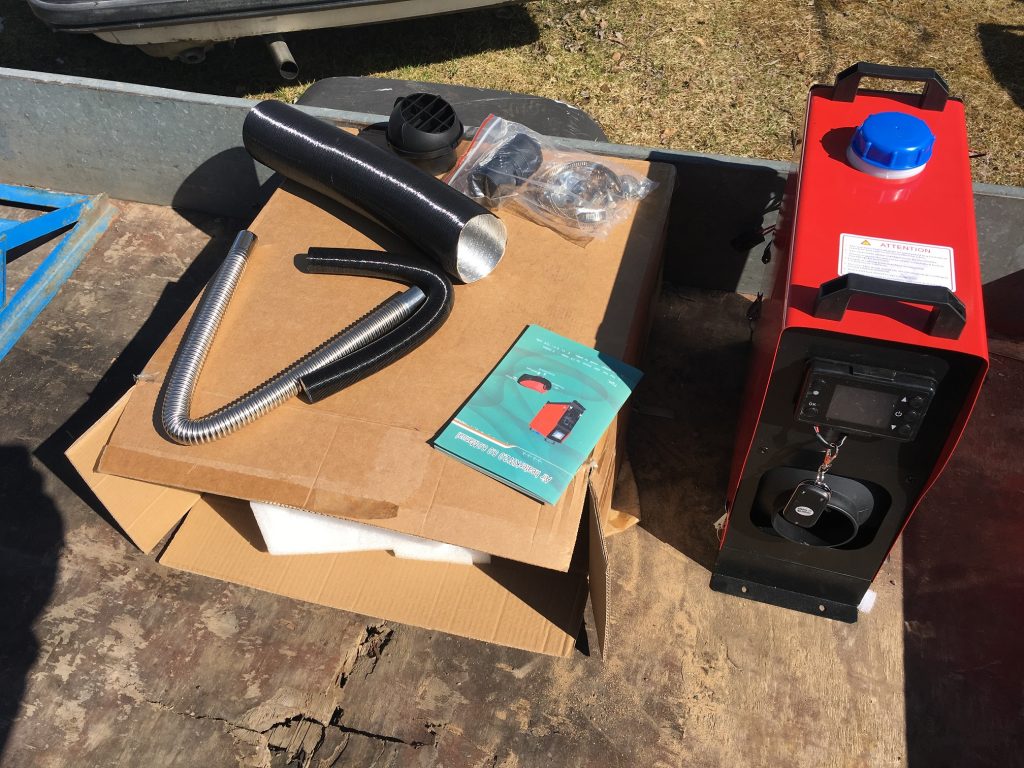
List of contents
- Parking Heater with ONE hole
- LCD switch
- Power Cable
- Remote Controller
- Air filter
- Mounting brackets
- Inlet air pipe
- Exhaust pipe
Install step by step
Step 1. Install the air inlet pipe and air filter
Step 2. The waste pipe mounting clip shall be fixed properly
Step 3. Connect the wires. Red positive, black negative.
Step 4. Remote control to code, in the machine shutdown state.
Step 5. Hold down the key and the screen appears(HFR).
Step 6. Press and hold the remote control OK key and the power button(3 seconds) to check the code successfully.
Step 7. Hold the remote control the power button for 3 seconds to boot.
Step 8. Oil is needed for the first start.
Step 9. Turn the fan on for about 1 minute, and the oil pump starts to work.
Step 10. The first time it starts, the oil in the tubing is not satisfied.
Step 11. If the machine turns for 2-3 minutes, it will shut down automatically.
Step 12. After the machine shuts down, restart the second time.
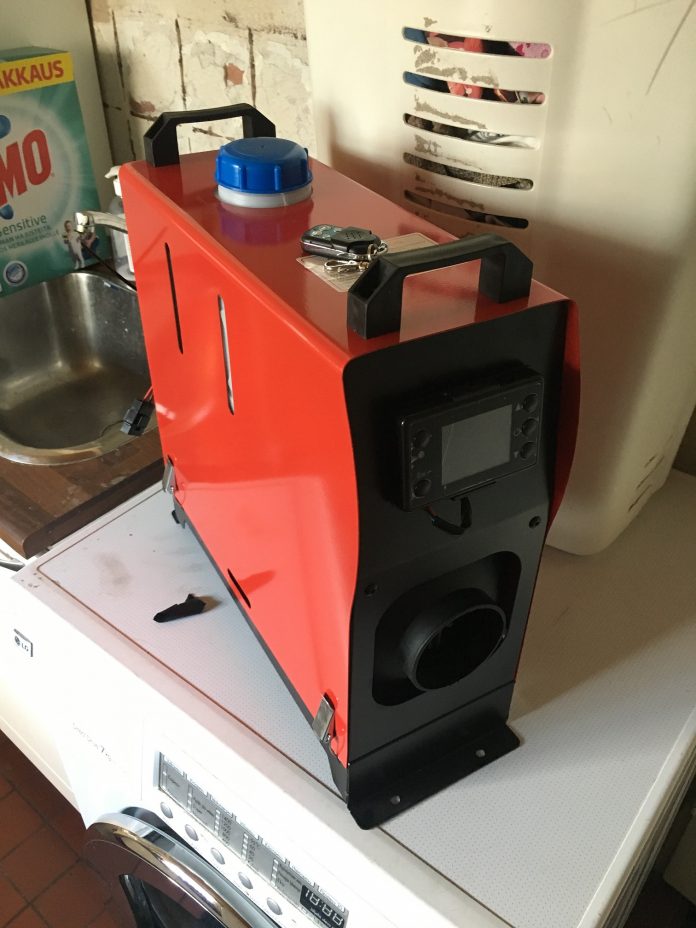
MaXpeedingRods’s 5kW air heater. The so-called portable model.
In the spring, Juho Mäki-Petäjä got a MaXpeedingRods’s 5kW air heater. Inside 5L fuel tank. Just plug in the battery and exhaust out so the heat comes in.
It can be operated with a timer, and the power control takes place either thermostatically controlled or forced to a specific fuel pump pumping frequency.
It hardly consumes power and works even with a low battery. It took up to 9V to start the voltage.
He made his own rack on the side of the stable chimney and pulled the exhaust through the soot hatch.
Can be removed without tools and even installed at the rear of the van.






Enjoyed every bit of your post. Really looking forward to read more. Really Great. Ruthy Haslett Lizbeth