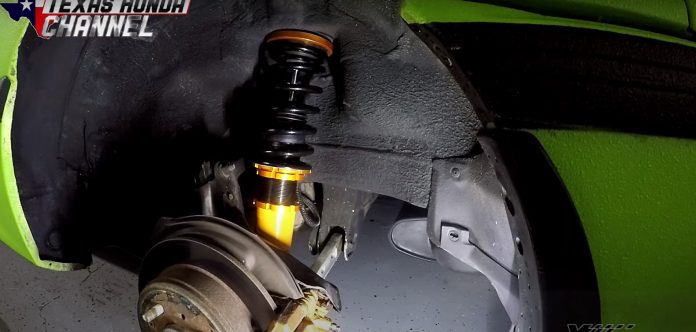
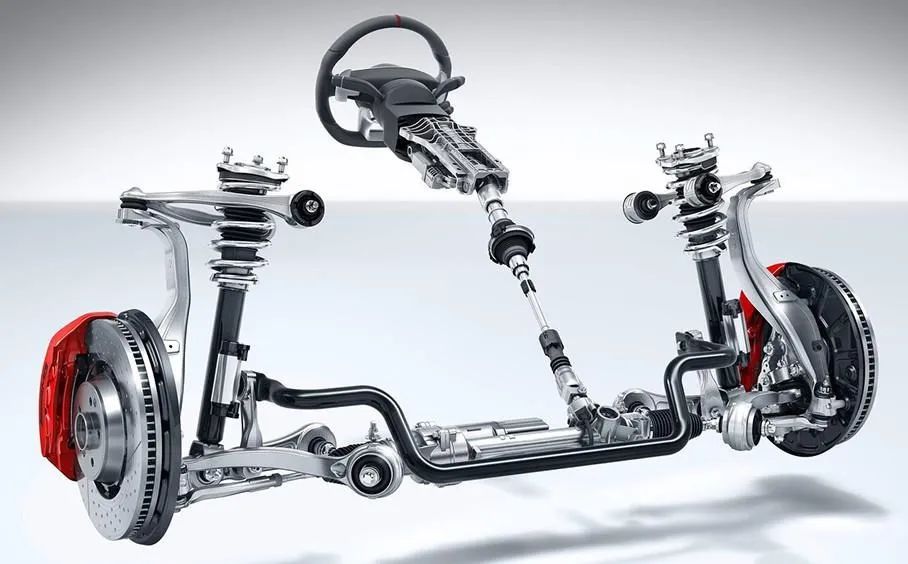
Editor’s Note: One of our friends James Moore, the owner of the Youtube channel Texas Honda Channel has built his 1990 Honda Civic with MaXpeedingRods Adjustable Coilover. He also explained how to install the coilover step by step. The methods used in this video are the same for Honda Civic from the year 1988 to 2000. Check the video.
Below are the most important steps excerpted from the video.
Install the front coilover
Step 1: Break the lug nuts loose(it will be easier to remove the wheel later) and jack the car up in the air.
Step 2: Secure Jack A Stand.
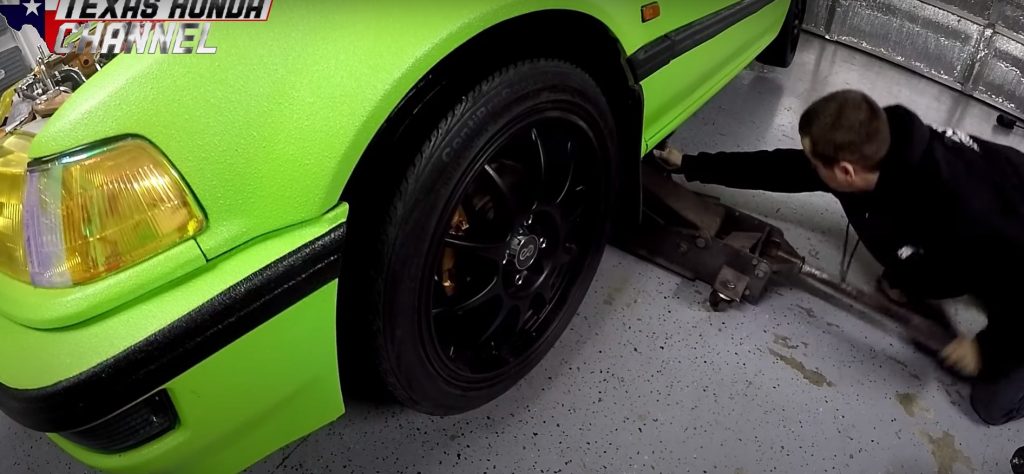
Step 3: Now remove the wheel.
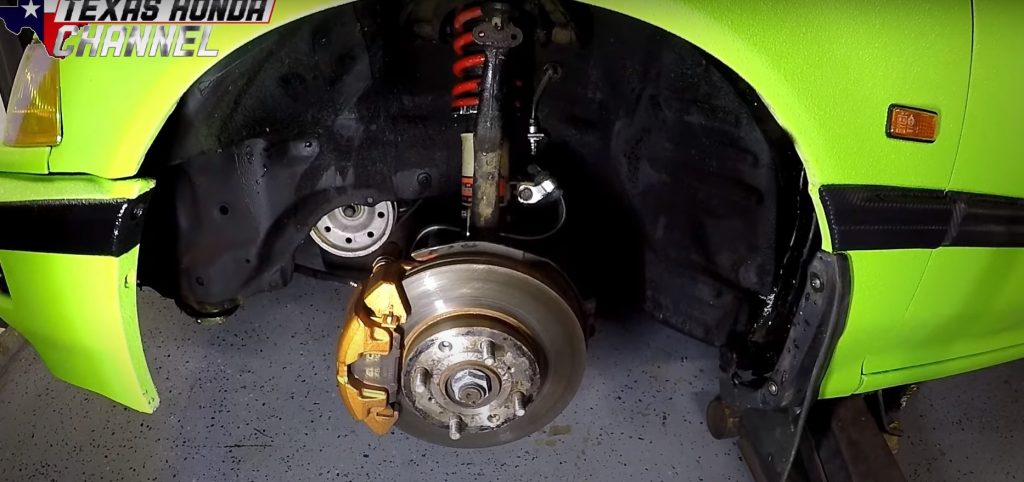
Step 4: Remove the two 10mm bolts and two 12mm bolts securing the brake line.
Step 5: Take off the 17mm upper control arm nut.
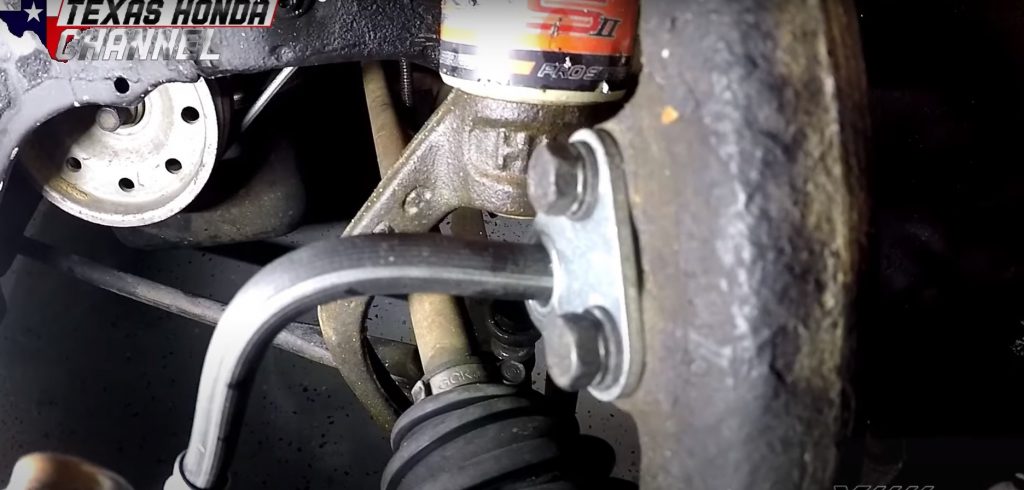
Step 6: Remove lower 17mm nut and bolt and upper 14mm nuts on the strut.
Step 7: Move all the brake lines out of the way and remove the strut. Don’t forget that the arrow shape should point towards the front of the car. It always goes in the front on both sides.
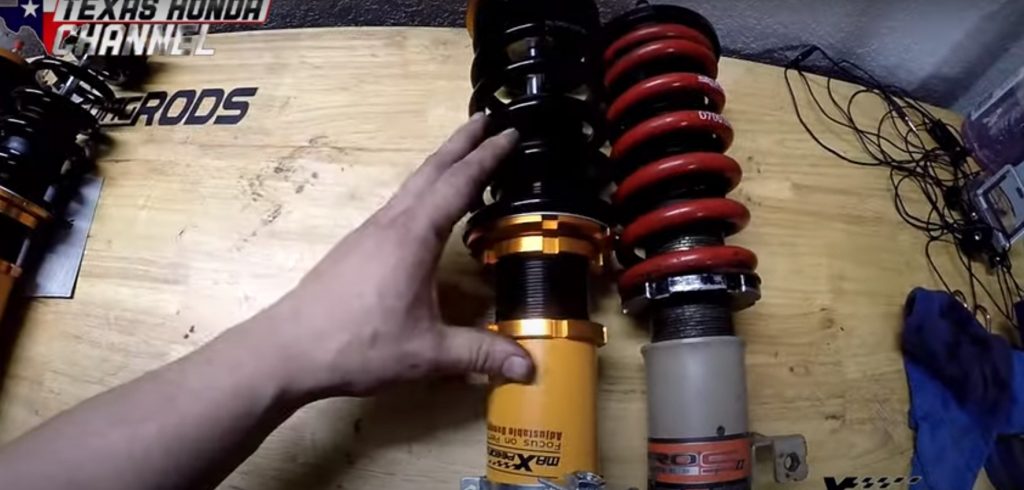
Step 8: After getting the front shock off, you need to adjust to the height you want using the spanner provided. Pay attention to how does the new coilover matches the old one.
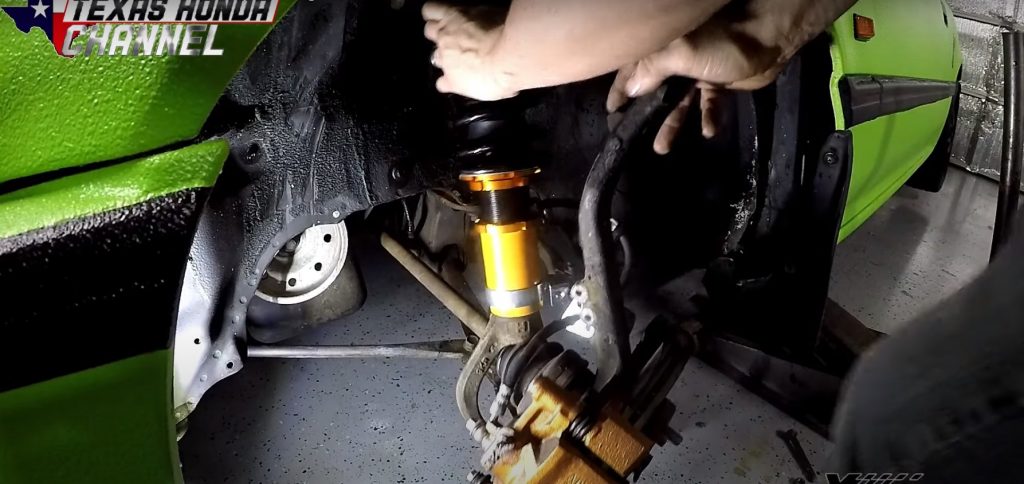
Step 9: Now remove the fork from the old strut and install it on to the new coilover.
Step 10: Install strut back into the car the same way you removed it. Make sure all bolts and nuts are tightened. You can adjust the damper to make it as stiff or soft as you need.
Install the rear coilover
Step 11: Move to the rear of the vehicle and remove lower 14mm bolts. It might be a bit difficult to remove, so please be more patient and don’t break bolts off. Make sure to use plenty of penetrants and let it sit and soak.
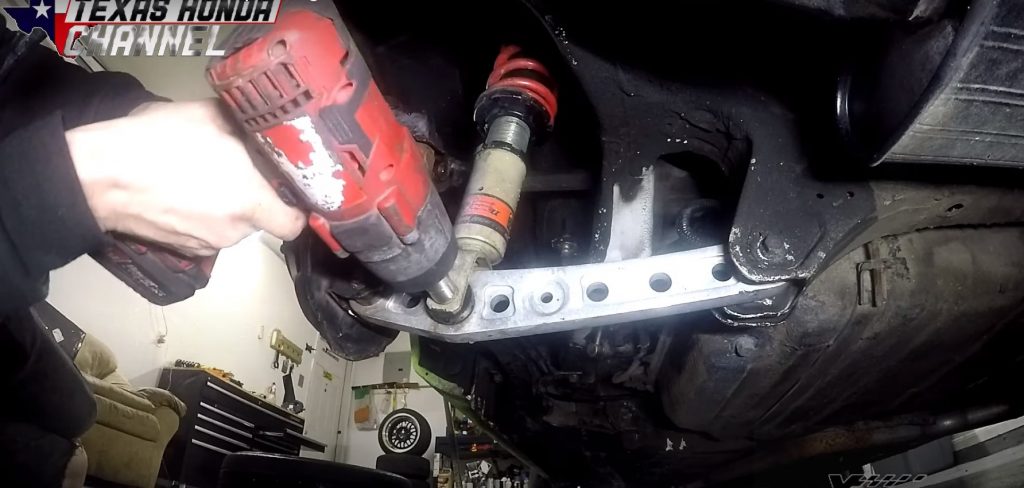
Step 12: Remove upper two 14mm nuts.
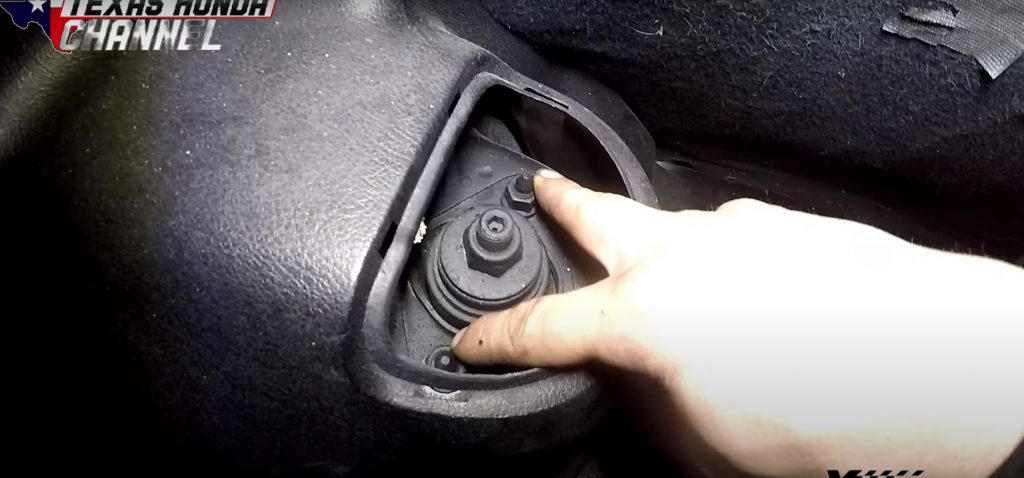
Step 13: Remove the old strut and install the new one the same way you removed the old one.
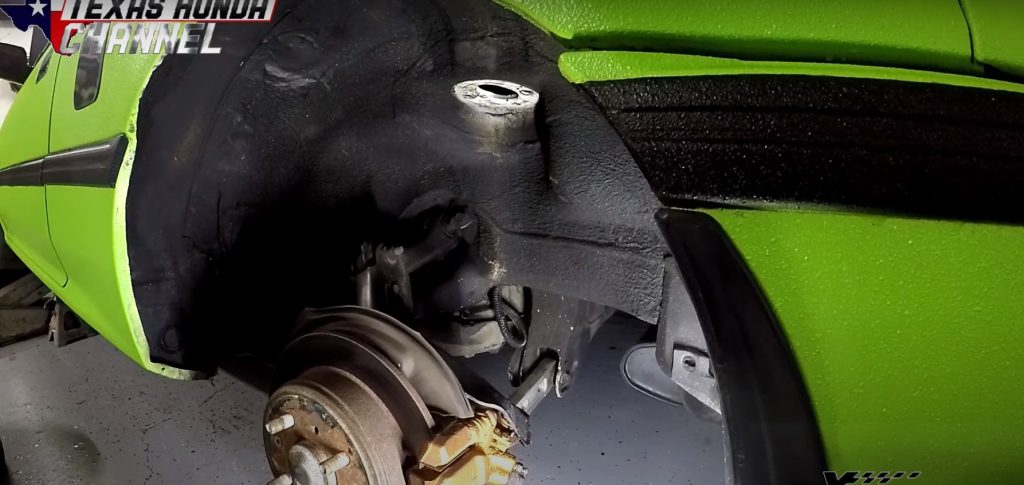
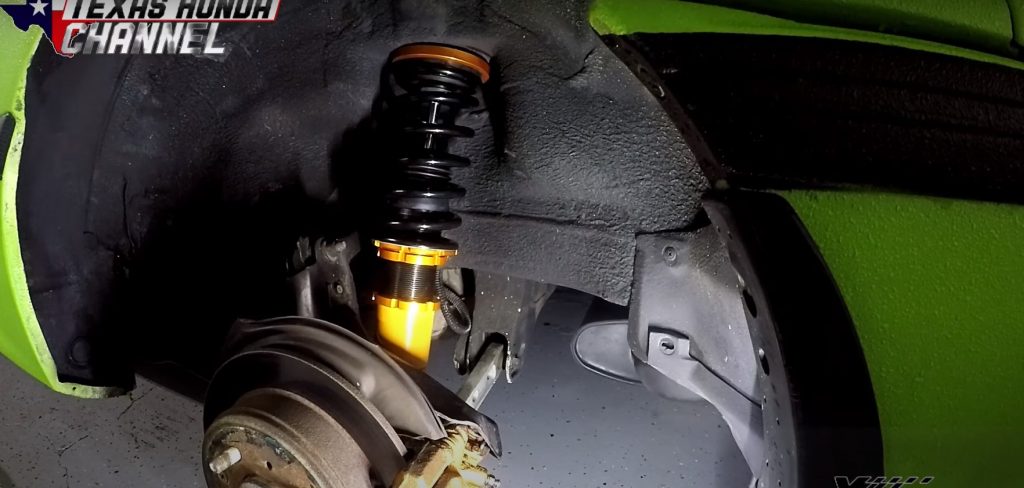
Step 14: Put it all back together and lower the car back on the ground.
Now as with all great projects, taking each part step by step and making sure to double-check your work are very crucial to proper ride comfort and safety. If you want to get the same coilover as James Moore, Check the link! Go and check Texas Honda Channel.
