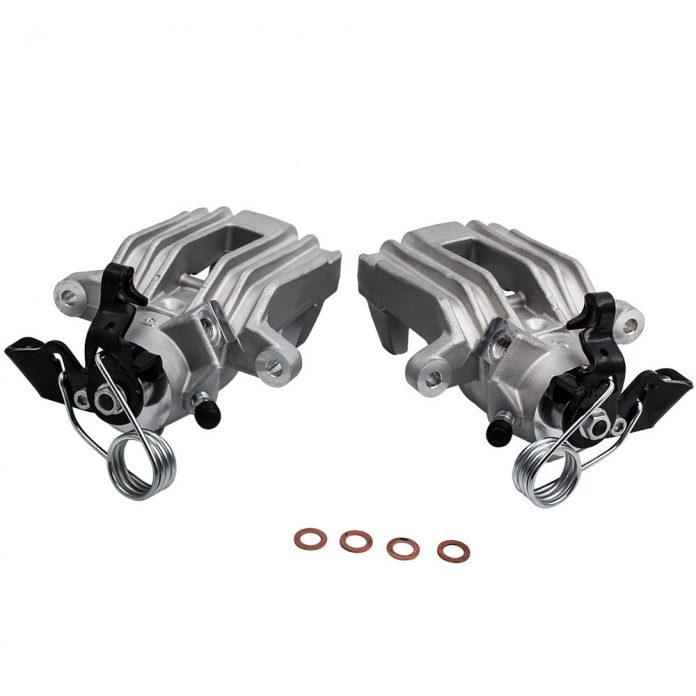
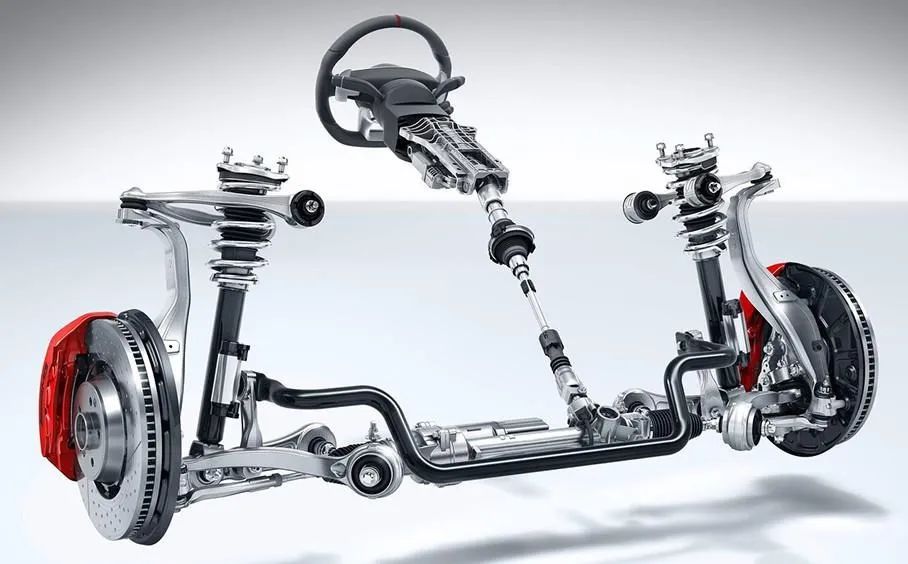
Editor’s note: This is a general guide to replace the brake caliper, before starting to install these components on the vehicle, it is important to read and understand the entire installation manual. MaXpeedingRods reserve the right to make changes and improvements to products and services.
1. Check
Before starting repairs, check that all the parts of the brake system, that you will not be replacing, are in perfect working order. These include the brake hoses and pipes, the condition of the brake fluid(boiling point), the seals and pistons of the brake caliper, and the guide bolts on the brake carrier as well as the wheel hub and wheel bearings.
2. Removal and installation
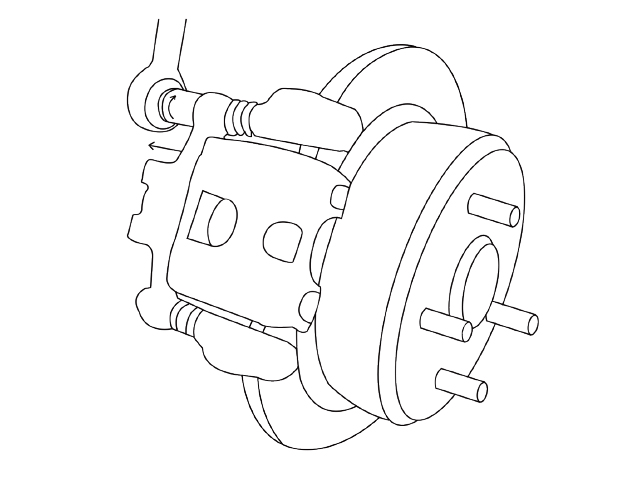
Before installing the brake calipers, do not adjust the parking brake system/handbrake system. Use a floor jack to raise the vehicle while ensuring that the vehicle does not move. Then remove the tires and prepare to replace the brake calipers.
Then remove the tires and prepare to replace the brake calipers.
- Install a floating brake caliper
- Remove the fixing bolts
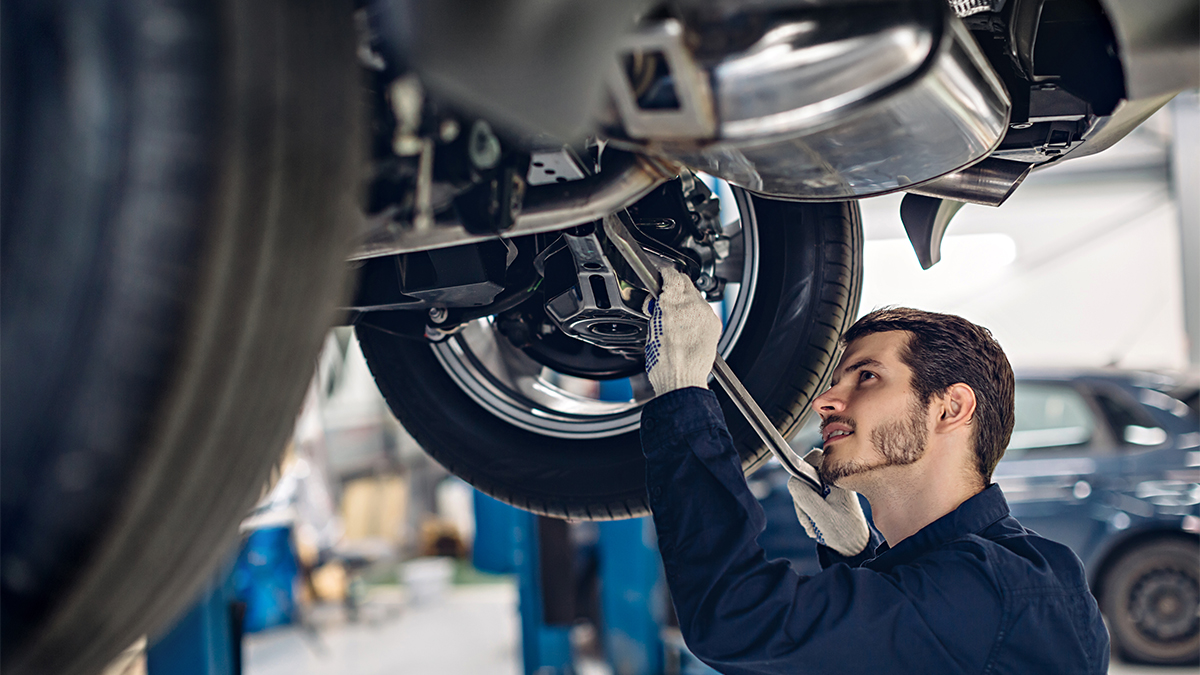
Find the bolt between the brake caliper and the bracket, put the wrench on the top of the bolt, loosen it, and slowly remove the bolt.
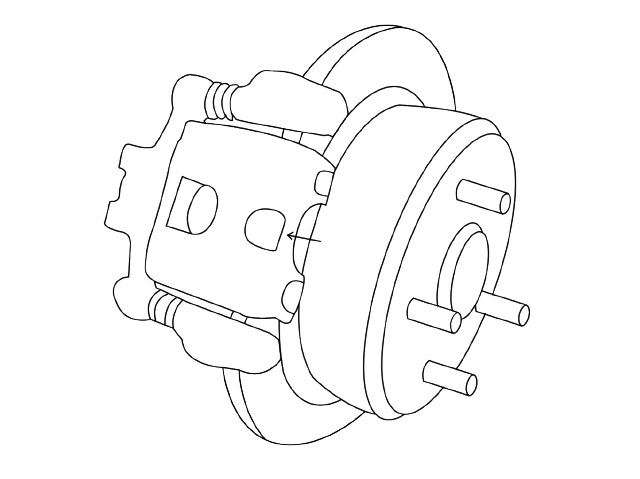
- Remove the original brake caliper
Take out the original brake caliper from the bracket, but don’t disassemble the brake hose to prevent the brake fluid from leaking and causing the cylinder to empty.
NOTICE: Do not twist the brake hose. The brake caliper is heavy do not hang the brake caliper in the air.
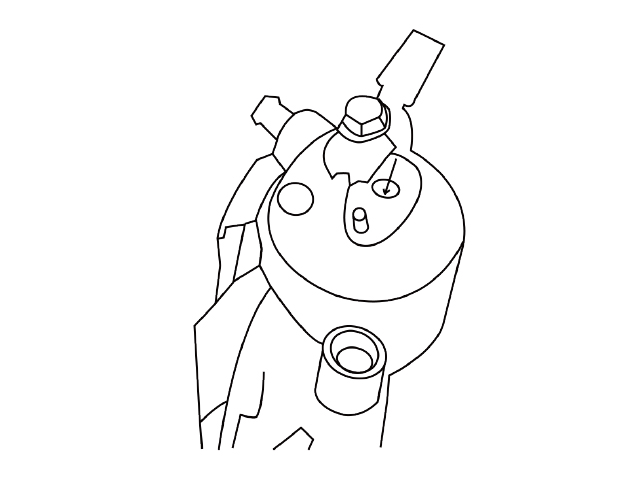
- Connect the brake hose to the new brake caliper
Unscrew the end fitting of brake pipeline, secure the brake hose into the oil port which is on the new brake caliper.
NOTICE: Brake fluid is corrosive, please replace it quickly. If the hose or bolt leaked any brake fluid, wipe it clean with a cleaning towel before screwing it into the oil port to prevent any corrosion from occurring.
NOTICE: When the pipeline interface is perpendicular to the oil hole, screw it into the hole.
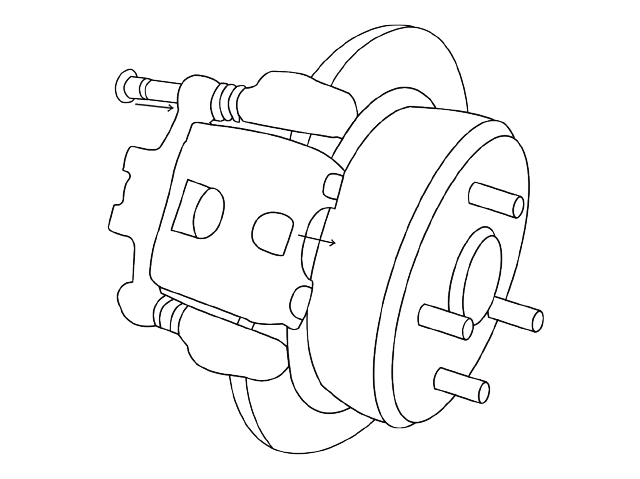
- Install the new brake caliper
Attach the new caliper to the bracket so it fits around the brake pads. Position the caliper so the side with the piston is on the backside of the brake rotor. Slide the bolts through the holes on the top and bottom, secure the bolts until you can not spin them anymore.
NOTICE: Check that the caliper doesn’t move around after you secure it in place or else it could come loose when you’re driving.
If you received an electronic brake caliper, please refer to the following installation process.
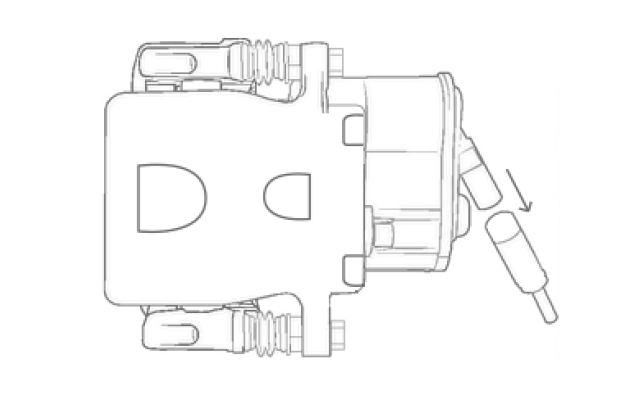
- install the electronic brake caliper
- Remove the connector
Undo the locking of the connector with a suitable tool, and pull off the connector from the actuator.
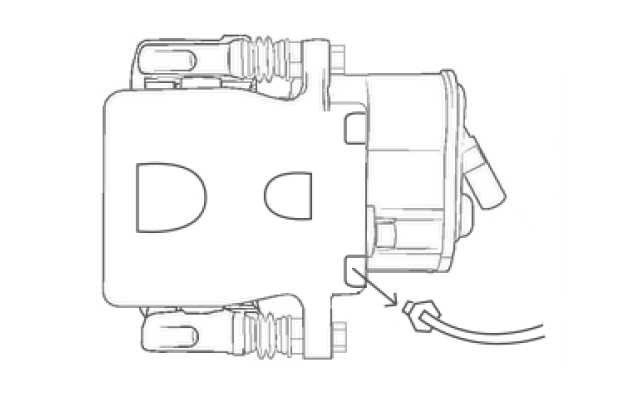
- Remove the brake hose
Remove the brake hose/pipe and close the end with a suitable plug to prevent brake fluid from running out and emptying the system.
NOTICE: Some EPB systems use actuators with an integral cable. In this case, the plug connection must be disconnected on the cable harness of the vehicle. This is located, as a rule, in the relevant wheel housing!
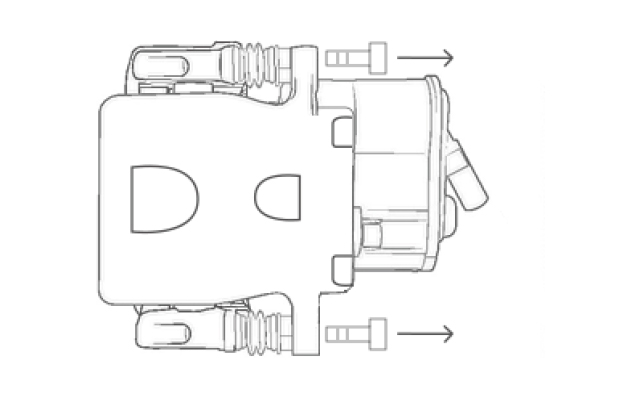
- Remove the fixing bolts
Loosen and remove both fixing bolts of the brake housing. Depending on the design of brake caliper, the guide pins on the brake carrier must be held fixed using a suitable tool.
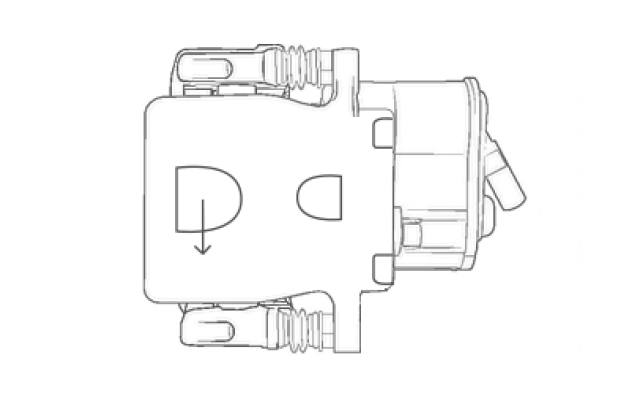
- Remove the housing
The housing-actuator unit can now be pulled off the brake carrier in the direction of the arrow.
- Installing of the brake caliper
After using a steel brush or iron brush to clean the copper rust on the surface of the wheel hub, you can install the brake caliper in the reverse order.
3. Warning
Brake fluid dissolves paint and is a danger to health. It is mandatory to observe the safety instructions from the manufacturer when handling brake fluid.
For safety reasons and to achieve an optimal performance, all maintenance and repairs must be carried out by trained professionals in accordance with the guidelines and specifications issued by the vehicle manufacturer.
When carrying out any work, MaXpeedingRods recommends wearing appropriate protective equipment. MaXpeedingRods accepts no liability for damage caused by unqualified fitting and assembling.
