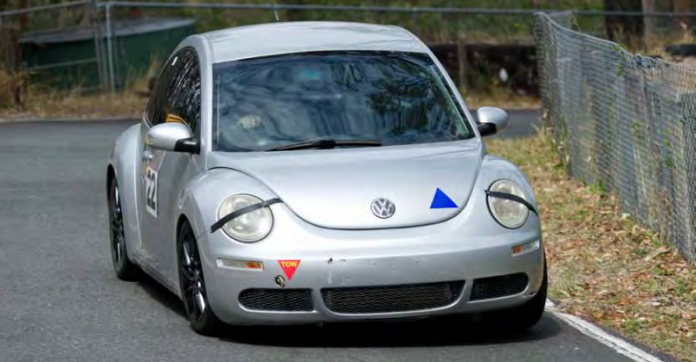
Craig Hughes, the editor of VW Magazine Australia, reached out to us that his 2006 1.9 TDI Beetle was happy to run MaXpeedRods entry level suspensions on the car for its first outing at events, Round 4 of the Hillclimb Championship on September 25th and 26th. After the event, he left a full page to talk further about what improvement and performance the suspensions brought to the car in Issue 72, VW Magazine Australia.
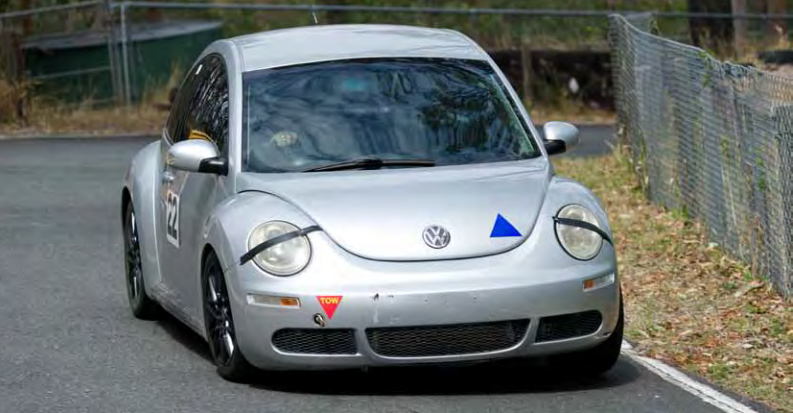
For the TDI’s first outing we wanted a suspension kit that would give us a basic height adjustment, so we chose an entry level street kit from MaXpeedingRods to do the job. The kit is well made and is a straight-up fit onto the New Beetle, including new rear short shocks. For the front, you still need to fit the factory upper bearing and rubber top mount, and for the rear, the factory top coil bump stop and the top shock mount.
To remove the factory front struts, remove the wheel, take the load off the front suspension with a trolley jack under the lower control arm and undo the sway bar link from the lower control arm. Taking the load off the front suspension for this step is important, as it is quite easy to strip the sway bar link bolt and /or lower control mounting point for the link if all the load is still on the sway bar link bolt. This had already happened to our lower control arm, and as a new one would not arrive before race day, we had to modify the lower control arm so that we could use a nylon lock nut on the other side of the bolt. This car was a repairable write-off, so we expected to encounter issues.
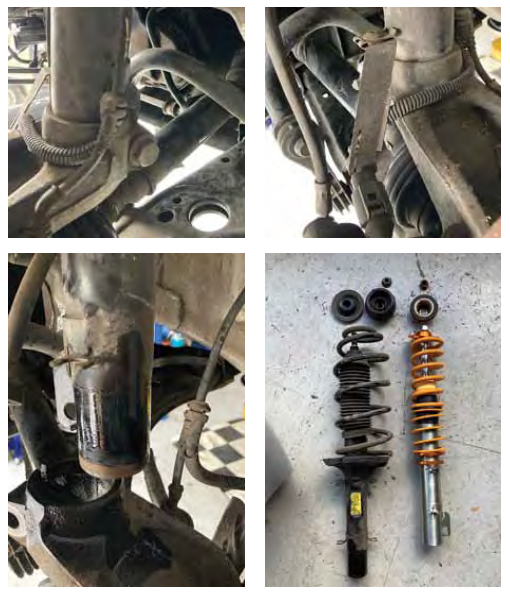
Loosen the top strut bolt with a rattle gun, but do not remove it completely. We then move to the bottom of the strut where the ABS and low brake pad sensors are removed from their strut mounting brackets. The low brake pad sensor can also be unclipped from the back of the caliper and detached from the angled bracket, as this bracket will be re-used. The strut retaining bolt is then removed, and with the use of a large copper hammer, the hub is tapped downwards to release the strut from the hub mounting sleeve. The top strut bolt
can now be removed and the strut taken away from the body.
The factory top strut mount and bearing are re-used (provided they are in good condition) and bolted onto the top of the new coilovers. Installation is in reverse – the only difference between left and right is no brake pad sensor on the right (driver) side to contend with. The coilovers can be adjusted to the desired height.
The rear suspension is held up by the top shock mount, so a trolley jack is placed under the middle of the rear beam to remove the load on the top mount. Both sides are undone at the same time and then the trolley jack lowered to release the spring and shock. If you are an owner of a Mk1 Golf or a B1 Passat then you will be familiar with this procedure. The new coilover kit re-uses the coil bump stop and top shock mount – again, providing they are in good condition.
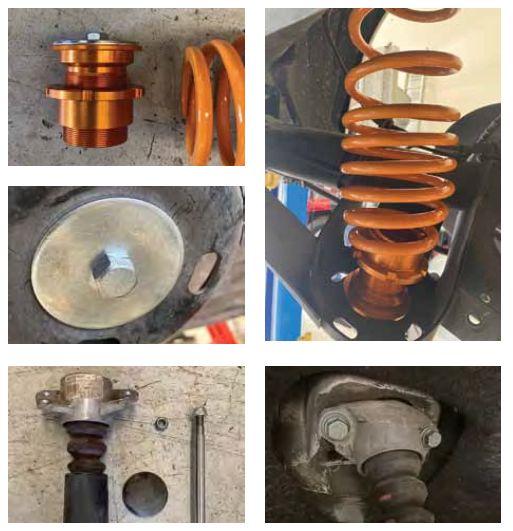
The coilover adjuster has a large washer and bolt that fit from under the lower suspension arm and screws into the second part of the threaded adjuster. This provides a stable base for the coil and adjuster to mount on. Installation of the coil and shock are again in reverse, taking note to back the adjuster completely off so that it is easier to jack up the rear suspension to bolt in the top shock mount.
Overall the kit was very easy to install, and the only consideration would be the condition of the factory components that must be re-used – having new parts on hand would be recommended, especially the top front strut bearing which do fail.
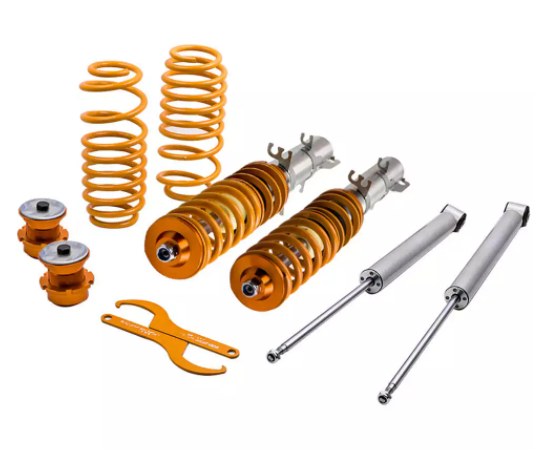
Height adjustment of the new coilover for the front was ideal, but in the rear we could not get as low as we wanted, even on the lowest adjustment setting. VWMA is currently working with the R&D department at MaXpeedingRods to design a new rear spring to provide more adjustment options.
On the track the suspension worked well, even for an entry level setup. We did get some rear wheel chatter on heavy braking, but hopefully this will be sorted with a different spring rate. It’s worth mentioning that we did make the front rotors glow after each run, so the brakes, ABS, and suspension were worked hard. Before the next round of the championship, we have further upgrades planned.
About VW Magazine Australia
VW Magazine Australia was first published in 2004 and is Australia’s only printed and digital magazine devoted to the Volkswagen, Audi and Porsche enthusiast. It is also Australia’s longest running printed publication.
10,000 copies are printed each issue (quarterly) and sold through newsagents and VW workshops Australia wide. In addition there are 1200 direct subscribers and the magazine is sold at the VWMA trade stand at all major VW shows across Australia.
