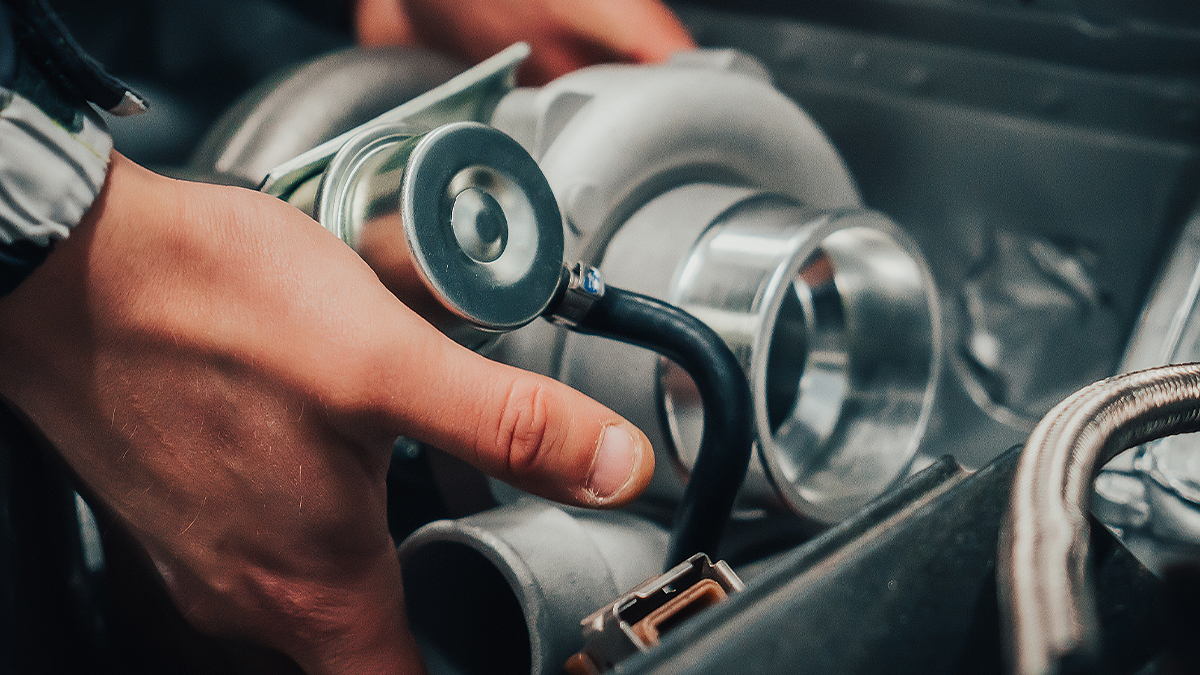
MaXpeedingRods Universal Turbocharger Review Part 1
Editor’s Note: Today, we are delighted to share a review from our friend, Daniel Hoffmann. Located in Norway, Daniel is a seasoned mechanic with a wealth of experience dating back to 2006. His passion for cars and motorsport is evident in his specialization in understanding, rebuilding, and optimizing vehicle performance. With a dedication to precision tools and gadgets, Daniel shares his DIY projects and motorsport events on Instagram, YouTube, and his blog, inspiring and assisting fellow automotive enthusiasts.

Connecting Boost Pipes
Once the turbocharger was securely installed and properly oriented, the next step involved connecting the boost pipes. These pipes are essential for directing compressed air from the turbocharger to the engine’s intake manifold. Here’s how we proceeded:
We began by fitting the pipes leading to and from the intercooler. The intercooler helps cool the compressed air before it enters the engine, improving performance and efficiency. We ensured all connections were tight and secure, using high-quality clamps to prevent any boost leaks.
Next, we installed the air intake pipe and air filter. The air filter ensures that the turbocharger receives clean air, free from debris and contaminants. Proper placement and secure fitting of these components are crucial for optimal airflow and performance.
We also connected the necessary vacuum lines for the wastegate and blow-off valve. These components help regulate boost pressure and protect the turbocharger and engine from excessive pressure.
Welding the Exhaust
With the boost pipes in place, our focus shifted to the exhaust system. The turbocharger‘s performance is significantly influenced by the exhaust setup, as it affects how quickly the turbo can spool up. Here’s what we did:
We started by fabricating a custom downpipe to connect the turbocharger’s exhaust outlet to the rest of the exhaust system. This step required precise measurements and welding to ensure a perfect fit and optimal exhaust flow.
We made sure the downpipe was aligned correctly to avoid any restrictions or interference with other components. Proper alignment is key to maintaining a free-flowing exhaust, which helps the turbocharger perform efficiently.
Once everything was in position, we welded the downpipe securely. We used high-quality welds to ensure durability and to prevent any exhaust leaks, which could negatively impact performance.

Taking the Car to the Dyno
With the turbocharger, boost pipes, and exhaust system all installed, it was time to take the car to the dyno. Dyno tuning is essential for optimizing the engine’s performance and ensuring that the turbocharger is working efficiently.
Before the dyno session, we double-checked all connections and components to ensure everything was secure and functioning properly. We also topped off fluids and performed a general inspection of the vehicle.
At the dyno, the car was mounted to the hub dyno, and the tuning process began. The goal was to optimize the air-fuel ratio, ignition timing, and boost pressure to maximize performance and ensure reliability. The dyno provided real-time data, allowing us to make precise adjustments.
During the dyno runs, we monitored various parameters such as boost pressure, exhaust gas temperatures, and overall power output. This data helped us fine-tune the setup to achieve the best possible performance while staying within the regulations for the GT4 class.

Results
At the dyno the car was converted to run ethanol and bigger injectors as they were maxed out at 4400 rpm. The peak result achieved was 420Hp engine and 351.1Hp at the hub. But since the different classes have different regulations, we had to tune it down. After mounting a restrictor at the intake, we were able to stay within the regulations at 231.3Hp and 383.Nm
All in all this is a huge gain from the 168Hp from when the engine was N/A.
Conclusion
The installation of the MaXpeedingRods universal turbocharger was a rewarding experience. The packaging, build quality, and ease of installation all met our expectations. Connecting the boost pipes and fabricating the custom exhaust were straightforward tasks that highlighted the versatility of this turbocharger.
The dyno tuning session was the final step in optimizing our setup, and we were pleased with the results. The turbocharger delivered the expected power gains and responsiveness, enhancing the overall performance of our 2.9L VR6 engine while adhering to GT4 class regulations.
We highly recommend the MaXpeedingRods turbocharger for car enthusiasts and budget-conscious modifiers looking to enhance their vehicle’s power output.


