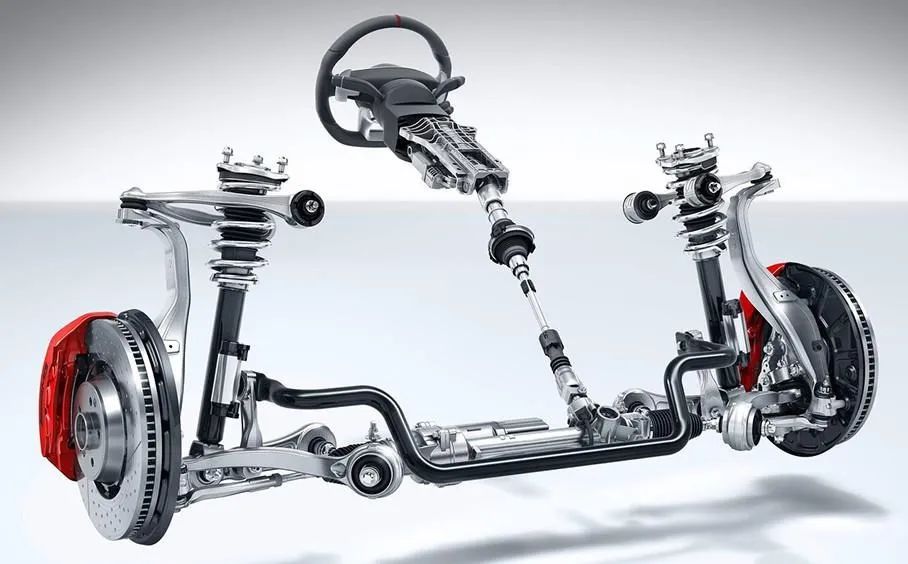
Upgrading your vehicle’s control arms can significantly improve handling, alignment precision, and suspension articulation, especially if you’re running a lowered setup or enhanced coilover system. If you’ve just received your MaXpeedingRods control arms, here’s a step-by-step guide to help you with a smooth and safe installation.
Tools & Supplies You’ll Need
Before getting started, make sure you have the following:
-Jack and jack stands
-Lug wrench
-Socket wrench set
-Torque wrench
-Anti-seize lubricant
-Rubber mallet (if needed)
-MaXpeedingRods adjustable control arm kit
Step 1: Preparation & Safety First
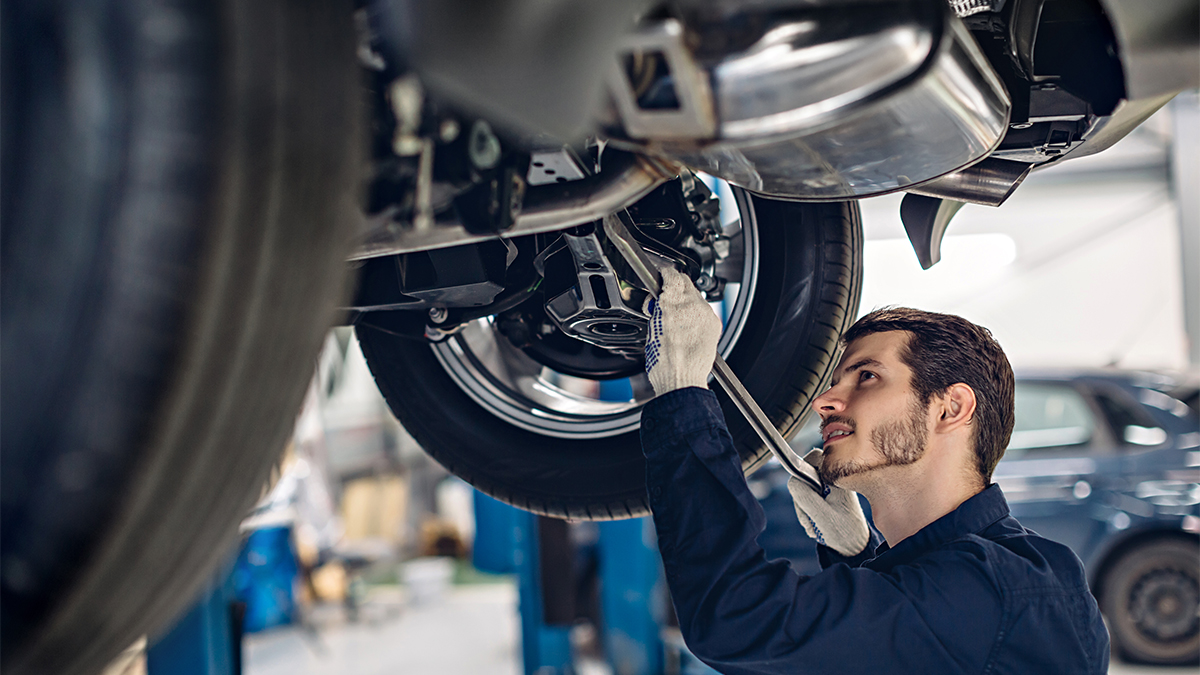
Start by parking your car on a level surface and securing it with wheel chocks. Loosen the lug nuts slightly on the wheels you’ll be working on, then raise the vehicle using a jack and secure it on jack stands. Remove the wheels completely to access the suspension components.
Step 2: Remove the Old Control Arms
Locate the existing control arms. Carefully unbolt them from the chassis and knuckle, taking care to remember (or mark) the orientation of any alignment shims or hardware. You may need a rubber mallet to gently tap out any stubborn components.
Pro tip: Keep track of OEM bolts and bushings—you’ll reuse or replace them based on the installation guide.
Step 3: Install the New Control Arms
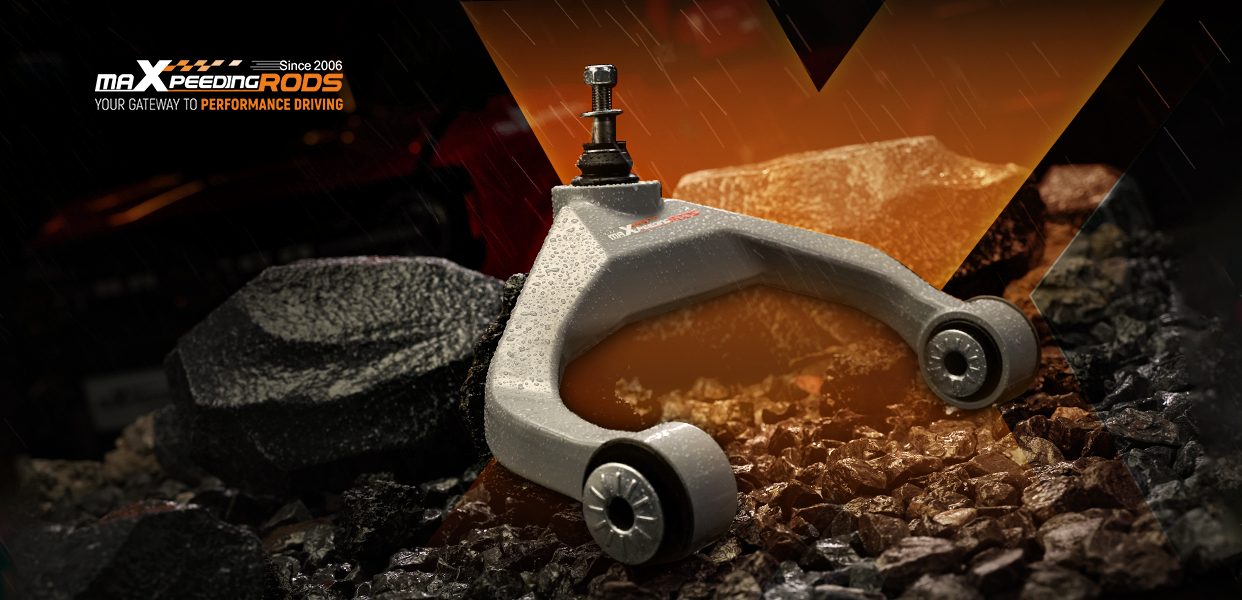
Take your MaXpeedingRods control arms and match them with your vehicle’s OE configuration. Ensure the arms are correctly oriented—consult the included manual for angle and position references.
Apply anti-seize lubricant to the bolts and torque them to manufacturer specifications. Begin by loosely installing all bolts, then tighten them gradually and evenly.
Step 4: Adjust for Alignment (If Applicable)
If your MaXpeedingRods control arms come with camber or caster adjustability, you may want to perform a basic alignment before heading to a professional shop. Set the control arms to a neutral or factory-similar position to avoid excessive tire wear during your drive to the alignment shop.
Step 5: Reinstall Wheels and Test
Reinstall your wheels, torque your lug nuts to spec, and lower the car carefully. Start the engine, take a slow test drive, and listen for any abnormal noises. Afterward, it’s crucial to get a professional alignment to ensure optimal performance and tire life.
Disclaimer
This guide is intended for informational purposes only. Installing control arms requires mechanical knowledge, proper tools, and safety precautions. If you are not confident in performing the installation yourself, we strongly recommend seeking help from a certified technician or professional repair facility. Improper installation may lead to alignment issues, premature suspension wear, or compromise vehicle safety. Always follow manufacturer instructions and local regulations when modifying suspension components.
Need Help Choosing the Right Control Arm?
Check out our full range of suspension upgrades at MaXpeedingRods official website, and don’t forget, if you’re unsure about installation, professional assistance is always recommended.


