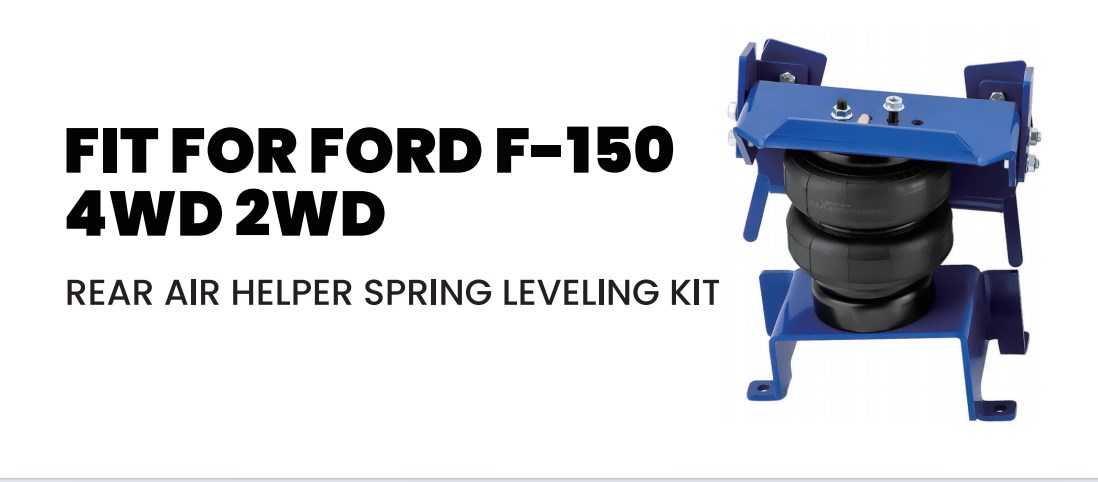
Upgrading your truck’s suspension can significantly improve ride comfort, load capacity, and overall performance. If you’ve recently purchased an air suspension kit for your Ford F-150, this guide will walk you through the key steps to ensure a smooth installation.
What You’ll Need
Before starting the installation, gather the necessary tools:
- A socket and wrench set
- A hydraulic jack and jack stands
- A torque wrench
- Safety gloves and protective eyewear
- Your air suspension kit (brackets, air springs, compressor, air lines, and mounting hardware)
Step 1: Preparing Your Truck
1. Park on a Level Surface
Ensure your vehicle is on a flat, stable surface and engage the parking brake.
2.Lift the Truck
Using a hydraulic jack, raise the rear of your F-150 and secure it with jack stands. Never work under an unsupported vehicle.
3.Remove the Rear Wheels
This provides easier access to the suspension components.
Step 2: Installing the Frame Brackets
- Locate the mounting points on your truck’s frame.
- Attach the frame brackets inside the frame rail using the provided bolts.
- Ensure they are aligned correctly before fully tightening.
Step 3: Mounting the Air Springs
- Secure the air springs (also known as airbags) to the upper and lower brackets.
- Attach them using the supplied bolts, making sure they are positioned without kinks or interference.
- Leave the bolts slightly loose to allow minor adjustments before final tightening.
Step 4: Connecting the Air Lines
1.Route the air lines carefully along the frame, avoiding sharp edges and hot exhaust components.
2. Secure them using zip ties to prevent them from rubbing against moving parts.
3. Connect the lines to the air compressor and controller, following the manufacturer’s instructions.
Step 5: Testing the System
1.Inflate the Air Springs
Using the included compressor or an external air source, slowly fill the bags to the recommended pressure.
2.Check for Leaks
Apply soapy water to all air connections; if bubbles appear, tighten the fittings.
3.Reinstall the Wheels and lower the truck carefully.
Final Adjustments & Road Test
- Check the suspension height and make any necessary adjustments.
- Take your truck for a short test drive, ensuring the ride feels stable and responsive.
- If needed, fine-tune the air pressure to match your load requirements.
Troubleshooting Common Issues
Uneven Ride Height? Check that both air springs are inflated to the same pressure.
Air Leaks? Ensure all fittings are secure and use thread sealant if needed.
Compressor Not Engaging? Verify the wiring connections and fuse.
Upgrade Your Ride with Confidence
Installing an air suspension system on your F-150 is a great way to enhance towing stability and comfort. With proper installation, you’ll enjoy a smoother and more controlled driving experience.
Looking for a high-quality air suspension upgrade? Check out MaXpeedingRods’ premium air suspension kits to take your truck’s performance to the next level!


