Editor’s Note: The blog is to assist in the installation, repair and maintenance of MaXpeedingRods ConnectingRods. Before starting to install these components on the vehicle, it is important to read and understand the entire installation manual.
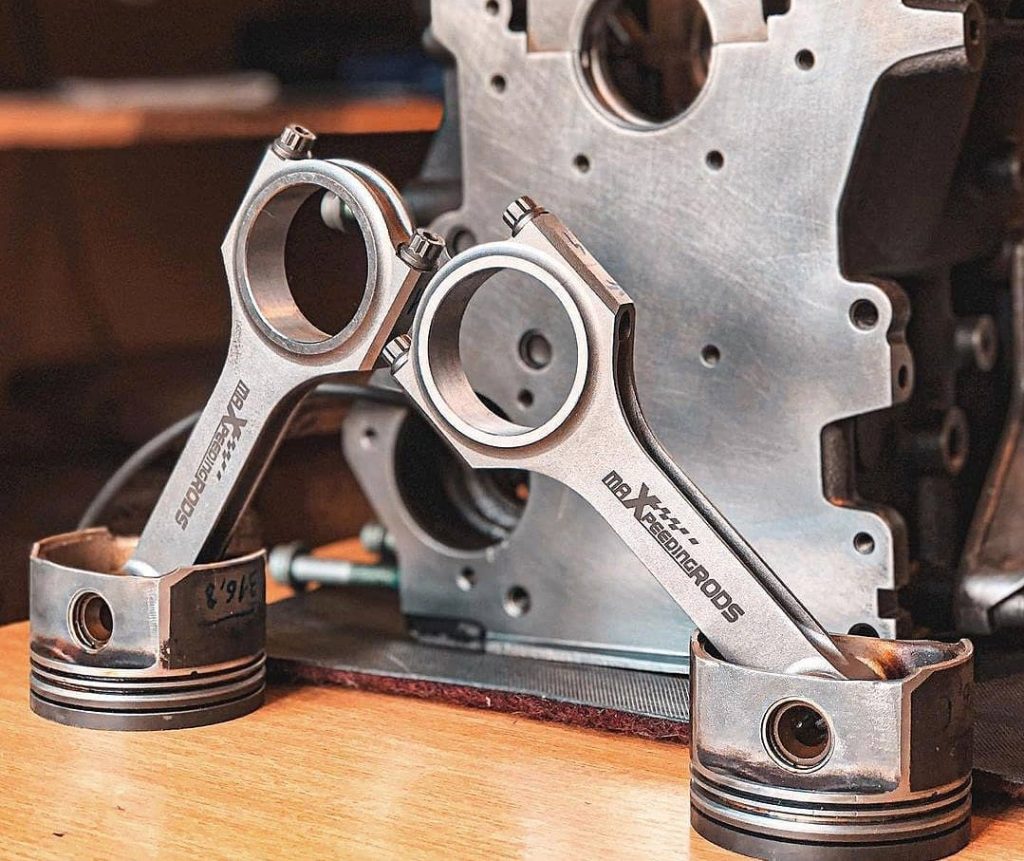
Warning:
- Prior to removal from the engine, the pistons and connecting rod assemblies were marked. The components must be reassembled together. The components must be installed in the original location in the engine. Do not interchange any of the components.
- Keep all parts clean from contaminants. Contaminants may cause rapid wear and shortened component life.
- Please read installation instructions thoroughly before starting the build. Proceed with installation, only when they are completely comprehended.
- Professional installation is recommended.
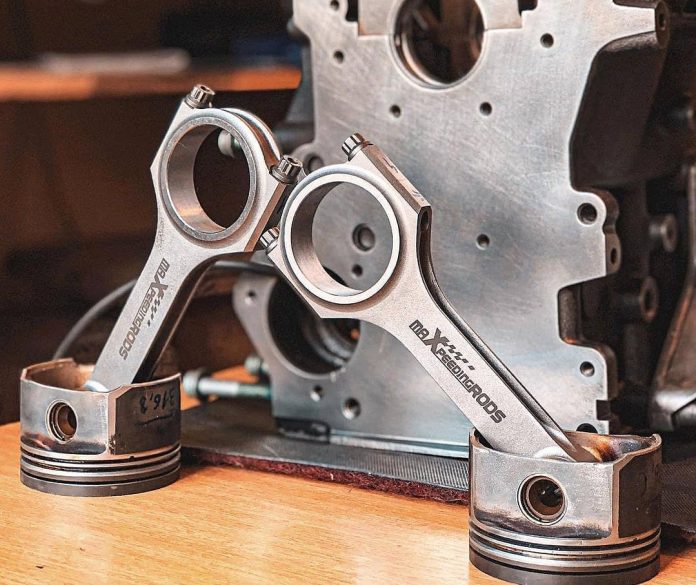
In order to facilitate your installation, we will briefly explain the location of the piston and connecting.
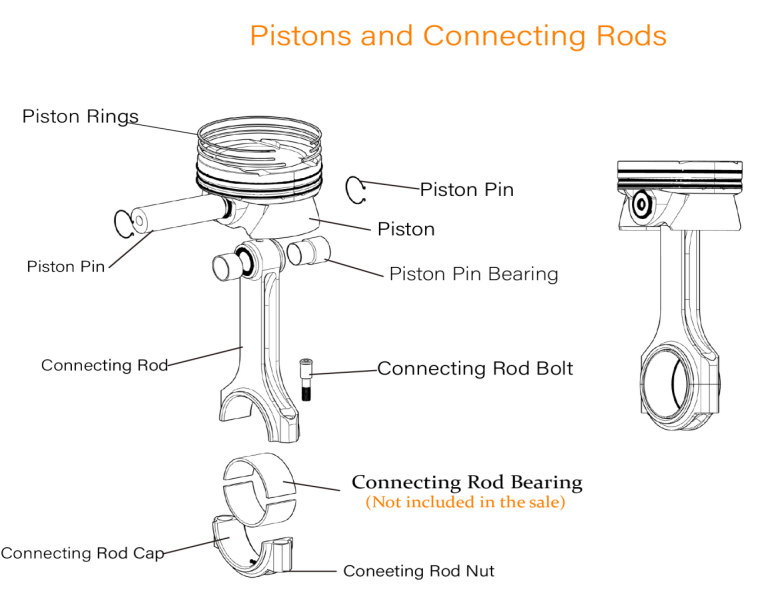
Installation Instruction
1. Clean and lubricate the piston ring and install it on the piston. Pay attention to the direction and clearance of the piston ring.
- install the oil scraper ring;
- install the compression ring;
- install the first compression ring.
Note:
When mounting the oil piston rings, consisting of two parts, always observe the correct position of the spring expanders. The ends of the spring expander should always be located on the opposite side of the piston ring lock.
Piston rings of three parts must be installed at an angle of 120° relative to each other.

2. Put the piston in position on small-end bushing of connecting rod . Apply clean engine oil to piston pin and install the piston pin. Install retainer rings with Tooling . Make sure that the retainer rings are fully seated in the grooves of the piston.

3. Install the connecting rod bearing to the big end of the connecting rod, and install the other connecting rod bearing to the connecting rod cap.

4. Clean engine block thoroughly. Ensure that all sliding surfaces are clean and well lubricated. A piston ring sleeve to ensure the piston slides freely in the cylinder must squeeze piston rings.
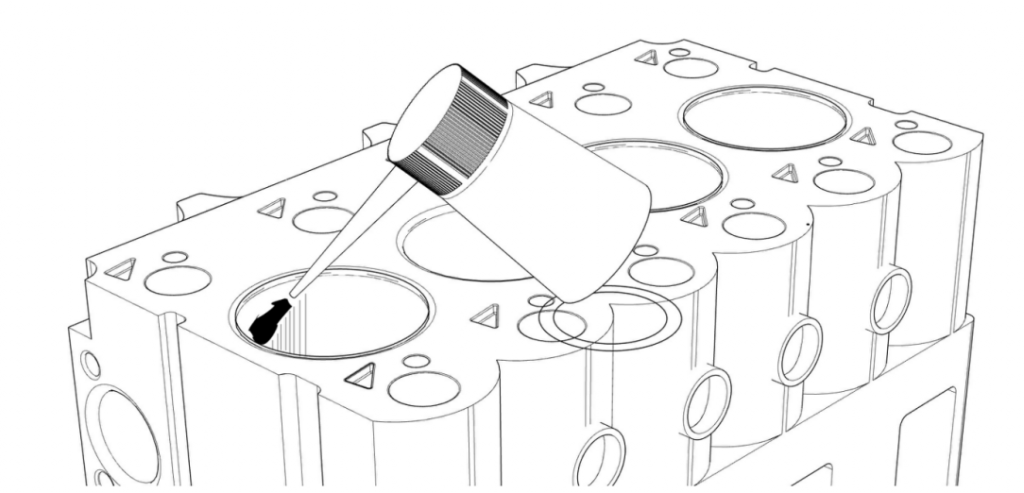
5. Slowly put the piston with the connecting rod into the engine block. Pay attention to protecting the direction of the piston ring and the direction of the piston. It must not be wrong. Use a rubber hammer or wood to knock the piston down slowly, carefully and slowly.
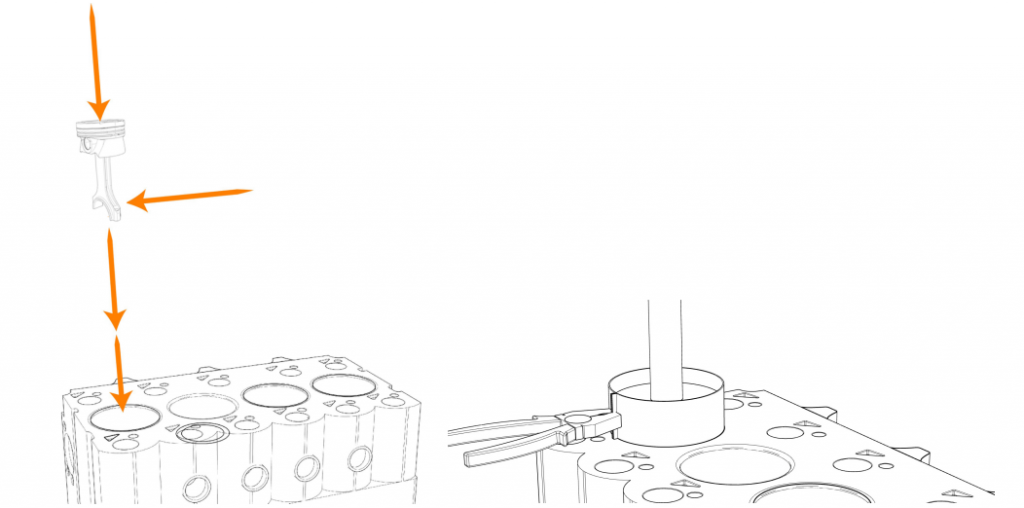
6. Turn crankshaft on crankshaft balancer through 180°in direction of rotation of engine. Clean out debris and grease residue on conrods before put on fasteners lubrication.
7. Fix the connecting rod cap with connecting rod bearings to the big end of the connecting rod with bolts, paying attention to the direction not to be wrong.

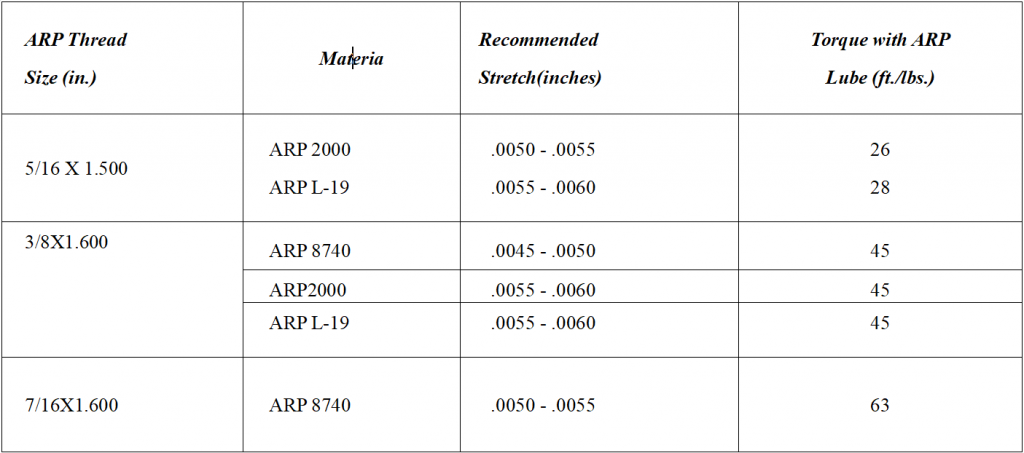
8. Must use moly bolt lube to lubricate fastener threads and under head clamping face. ARP fasteners lubrication is highly recommended.

9. Tighten the fastener with accurate torque according to below ARP conrods fasteners torque table. Over torque may damage the conrods or even engine.






so cool