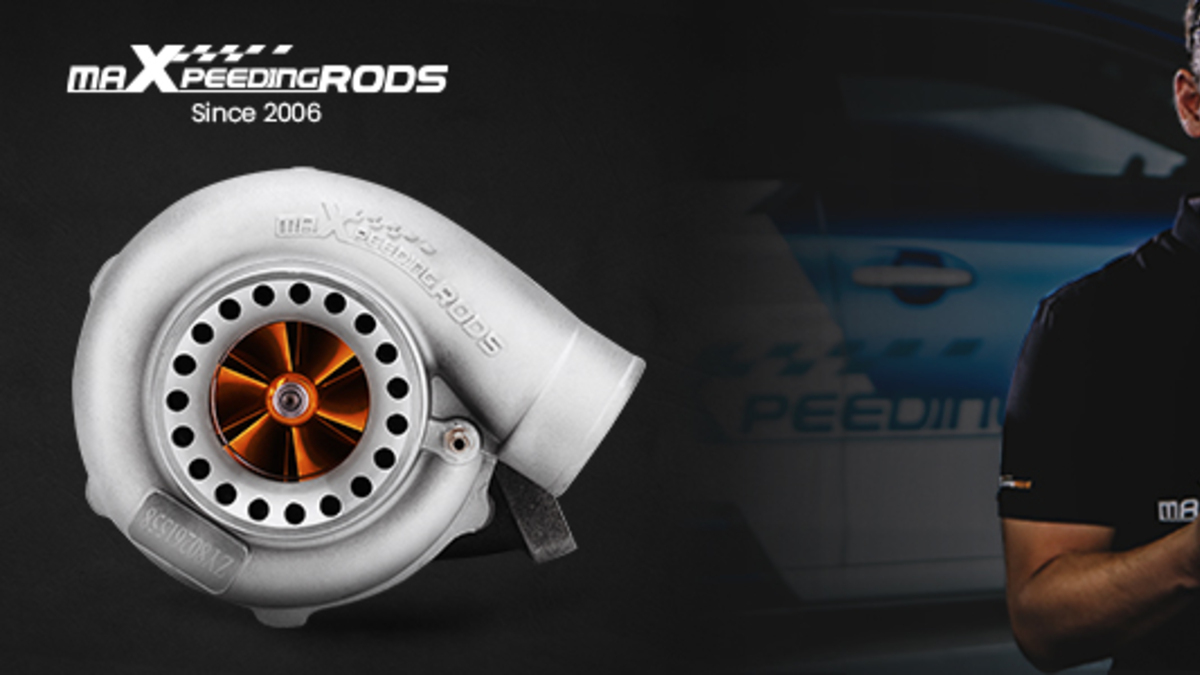
The Maxpeedingrods T3/T4 Universal Turbo is an aftermarket turbocharger designed for 1.5L to 2.5L up to 400hp. Known for its affordability and versatility, this turbocharger firs both car enthusiasts and budget-conscious modifiers looking to enhance their vehicle’s power output.
Editor’s Note: Today, we are delighted to share a review from our friend, Daniel Hoffmann. Located in Norway, Daniel is a seasoned mechanic with a wealth of experience dating back to 2006. His passion for cars and motorsport is evident in his specialization in understanding, rebuilding, and optimizing vehicle performance. With a dedication to precision tools and gadgets, Daniel shares his DIY projects and motorsport events on Instagram, YouTube, and his blog, inspiring and assisting fellow automotive enthusiasts.
Check his Instagram here: http://instagram.com/hoffmods
Packaging

Maxpeedingrods excels in ensuring that their products reach customers in pristine condition. The turbo comes securely packaged in a branded box reflecting the company’s attention to detail and commitment to quality. Inside, the turbo is encased in custom-molded foam, providing exceptional protection during transit. This thoughtful packaging minimizes the risk of damage and ensures that the turbo arrives ready for installation. The secure packaging not only safeguards the product but also enhances the unboxing experience, giving customers confidence in their purchase.
Contents


Included with the turbocharger is the necessary accessories to install it.
Gaskets
Banjobolt
Restrictor
V-band with ring
Embossed sticker
Installation instruction
Brochure
Troubleshooting guide
Build Quality

The turbocharger is constructed with a robust Silicon-Molybdenum turbine housing and a ZL 104 aluminum compressor housing, branded with the Maxpeedingrods logo. The compressor wheel is machined out of forged billet aluminum and the turbine wheel is made from K419 alloy with a resistance up to 1000℃. The materials used ensure durability and resistance to high temperatures and pressures. Despite its budget-friendly price, the build quality is commendable.
Installation

Installation of the turbo is relatively straightforward for those with mechanical experience. It is designed to be a universal fit, but some custom modifications might be necessary depending on the specific vehicle model. It is recommended to consult with a professional mechanic to ensure optimal fitment and performance.
The turbo is mounted to a 2.9L VR6 engine from VW. Since this is a GT4 Class car we need to keep the power level below 250hp to the wheels to follow the regulations. We hope that it will provide early spool-up and get us the power we need.
Before fitting the turbo permanently, it’s important to check for clearance. The next step is to clock the CHRA to ensure we get the correct angle on the oil drainage. The turbo relies on oil for lubrication and cooling. Proper orientation ensures the oil drains correctly from the turbo, preventing oil leaks and maintaining proper lubrication, which is crucial for the longevity and performance of the turbo.
We started by loosening the six bolts on the turbine housing. This is when we noticed the attention to detail in the turbo’s assembly at the factory. All the bolts had paint markings, and the rod for the wastegate actuator had thread-lock on it. We removed the bracket and the actuator before lifting the turbo into the engine bay.
We used some bolts to hold the turbo temporary and clocked the CHRA so the feed and drain was in a vertical line. We snugged up some of the bolts on the turbine housing and rotated the compressor housing to our desired orientation. Then we checked that the actuator with bracket fit. Fortunately, we did not have to do any modifications to the bracket.
Conclusion
We are very happy with the installation of the turbo and our collaboration with Maxpeedingrods. The next steps for us are to fit the oil lines, fabricate a custom downpipe, and install pipes for the intercooler and air filter. After this, we will have the car tuned on a dyno to assess the performance gains and the responsiveness of the turbo.
