Editor’s Note: Today, we are delighted to share a review from our friend, Daniel Hoffmann. Located in Norway, Daniel is a seasoned mechanic with a wealth of experience dating back to 2006. His passion for cars and motorsport is evident in his specialization in understanding, rebuilding, and optimizing vehicle performance. With a dedication to precision tools and gadgets, Daniel shares his DIY projects and motorsport events on Instagram, YouTube, and his blog, inspiring and assisting fellow automotive enthusiasts.
The installation of Maxpeedingrods T7 coilovers is a rewarding but intricate process that significantly enhances the handling and performance of your vehicle. Below, I will detail my experience installing the Maxpeedingrods T7 coilovers, including preparation, the installation process, and post-installation adjustments.
Preparation
Before starting the installation, I gathered all necessary tools and equipment. If you are doing this ensure you have a jack, jack stands, wrenches, socket sets and a torque wrench. Additionally, having a friend or a helper can make the process smoother and safer.
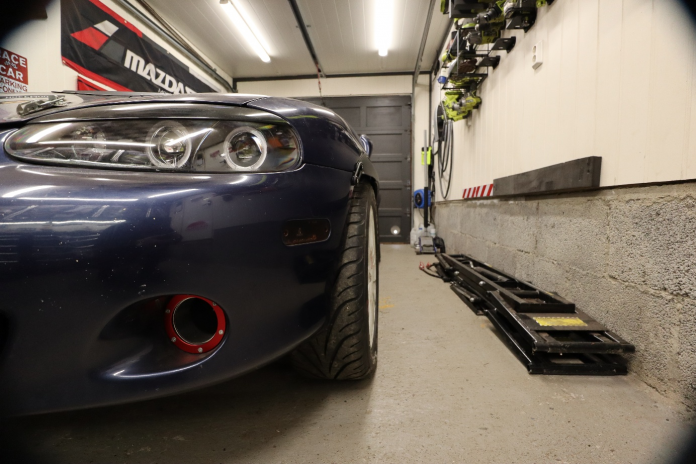
My car was parked in the garage on a flat surface, and I used a quickjack for lifting the entire car, which made the entire process easier than a jack and jackstands.

Removing the old suspension
The first step in the installation was to remove the old suspension components. As you can see almost every part is brand new as I was planning to replace the suspension. On a Mazda Mx-5 this is fairly easy to do. First, I removed the nut from the upper control arm. Then the nut on the outer tie-rod. After that I removed the sway bar link and the lower bolt on the shock. I used a jack to slowly lower the control arm. After that it was just the two nuts on top that needed to be removed to get the shock out. By doing it this way, I did not need to compress the spring.

Installing the Maxpeedingrods T7 Coilovers
With the old suspension components removed, it was time to set up the Maxpeedingrods T7 coilovers. I began with taking some measurements.


The threaded part of the front shock is approximately 145mm long and at the end there is a small edge 40mm from the end, you do not want to unscrew it past this point when it’s in the car.

Straight out of the box the lower perch was set at 67mm from the start of the threads.
I removed the spring and installed it in the car.

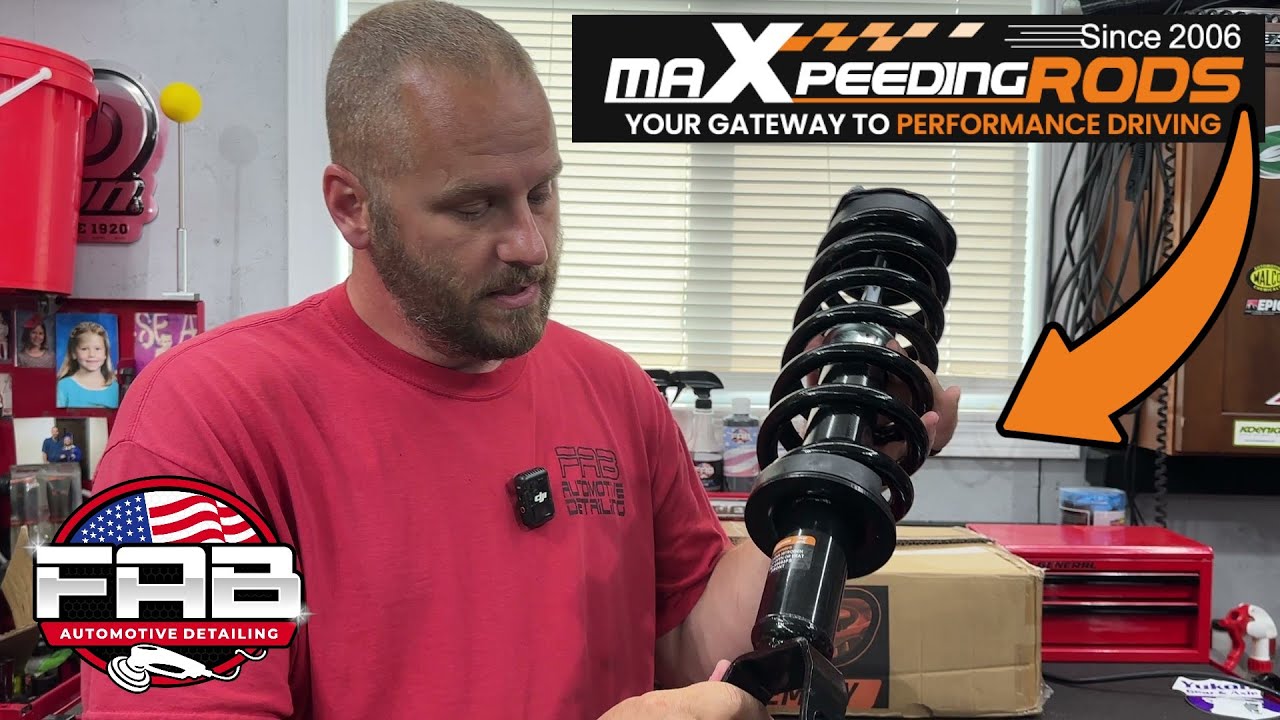
As you can see there is about 100mm of available travel without the bump stop installed. I removed the spring to make sure that there is an adequate amount of bump and droop travel in the damper. As a rule of thumb, for most cars, the damper should be set so that once at ride height, 2/3rds of the available travel is for bump and 1/3rd of available travel is for droop. This was done by adjusting the lower part of the assembly. After adjusting the lower part for my setup, the next step was to install the spring again.


After setting the ride height, I could transfer the measurements to the other side and install the assembly.

Rear installment

A side-by-side comparison of the rear assembly.

Installing them in the rear is almost identical to the fronts. First, I removed the bolt from the upper control arm. Then the nut on the sway bar link and the lower bolt on the shock. I used a jack to slowly lower the control arm. After that it was just the two nuts on top that needed to be removed to get the shock out. And again, by doing it this way I did not need to compress the spring.

Post-Installation Adjustments
After installing the coilovers, it is crucial to make further adjustments to optimize performance. Reattach the wheels and lower the car back to the ground. Check for any unusual noises or alignment issues.
Taking the car for a test drive will help you identify any necessary adjustments. Pay attention to the ride quality, handling, and any potential noises. The coilovers allow for fine-tuning, so make sure to adjust the damping settings to achieve your preferred balance between comfort and performance.
The adjustments and targets set during installation are temporary. The car will receive new fender flares and will be tested on the track to make the necessary adjustments.
Conclusion
Installing Maxpeedingrods T7 coilovers is an excellent way to improve your vehicle’s suspension, offering enhanced performance and adjustability. While the installation process requires patience and precision, the result is well worth the effort. I am pleased with the end result and look forward to testing these on the track.
