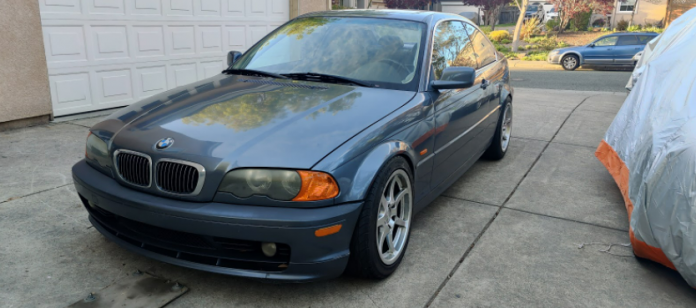
Editor’s Note: This comprehensive guide is shared by Cameron Tuttle. He covers the installation of a set of MaXpeedingRods adjustable coilovers on his 2000 e46 323ci. This guide can be consistent with the majority of the E46 models including 320i, 323i/323ci, 325i/325ci, 328i/328ci, 330i/330ci, and M3 models.

Tools
Installation of MaXpeedingRods coilovers is easily accomplished with basic hand tools and can be accomplished with the tools in the following list.
- Floor jack
- 2 jack stands
- Hammer or mallet
- ⅜” ratchet: 10mm socket, 13mm socket, 16mm socket, 18mm socket
- 16mm wrench
- 22mm wrench
- 17mm tire iron (found it roadside kit)
- Wheel chock (found in roadside kit)
- 2×4 wood blocks
Note: some vehicles vary in wrench size for sway bar end links.
Steps
Step 1 Preparation (front)
- Park the vehicle on a flat, level surface.
- Place 2×4 wood blocks in front of both front wheels, and roll the car on top of them.
- Apply E-brake and put in park (automatic) or leave in gear (manual).
- Using the supplied tire iron, or a breaker ar with a 17mm socket, loosen the wheel bolts on both front wheels at least ¼ turn, do not fully remove.
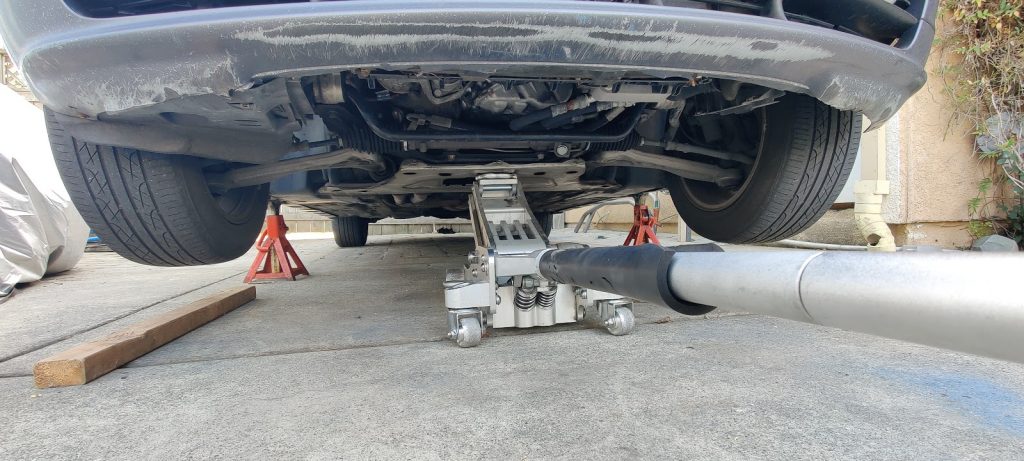
- Place the floor jack under the center of the vehicle, and align the puck under the middle front jacking point, as demonstrated in the attached photo below.
- Raise the vehicle, and place the jack stands under the front jack points on both sides.
- Lower the vehicle, taking caution the jack stands are in proper place.
- Remove both front wheels, and place them under the vehicle frame rails, behind the jack stands.
- Perform shake test, and remove the floor jack.
Step 2 Removal of front struts
- Remove front sway bar end links from factory struts
- Be sure to place a 16mm wrench between the ball joint and strut to keep it from rotating
- Note: some vehicles are equipped with end links using a 17mm wrench
- Remove strut clamp bolt
- Place floor jack under front lower control arm
- Use an 18mm socket on a ⅜ wrench, loosen and remove the single strut clamp bolt
- Lower front knuckle
- Slowly lower the floor jack and lower the knuckle
- Note: it may be necessary to wiggle the knuckle back and forth to break it free from any corrosion.
- Lower until the bottom of the strut is almost fully removed from the knuckle
- Remove top hat bolts
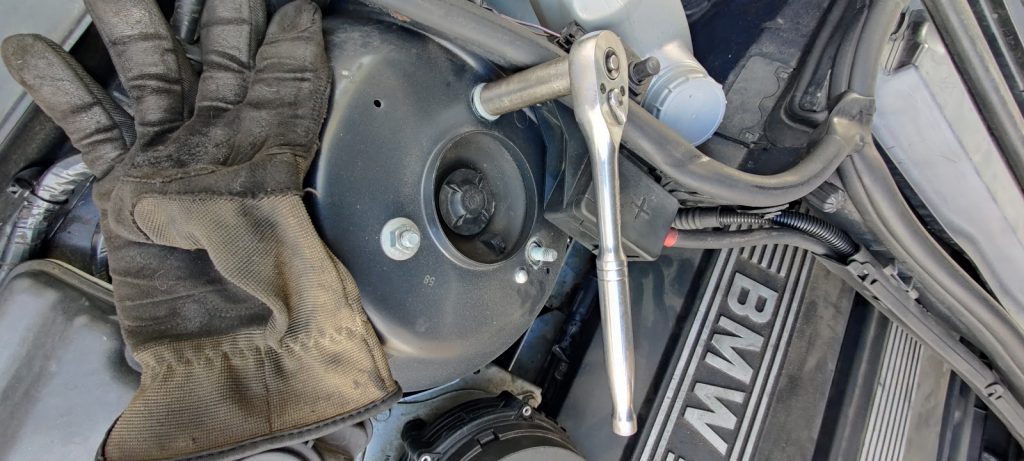
- Use a 13mm socket to remove the 3 top hat bolts under the hood
- Be sure to prop the strut up before removing the last bolt
- Remove strut
- Hold the strut with one hand, fully remove the last top hat bolt
- Lower the floor jack until the knuckle will not go any lower
- Angle the bottom of the strut outwards, and remove strut
- Use a few zip ties, secure the knuckle so that it does not put any stress on the brake line
- Repeat the process on the other side
Step 3 Installation of front coilovers
- Prepare coilovers
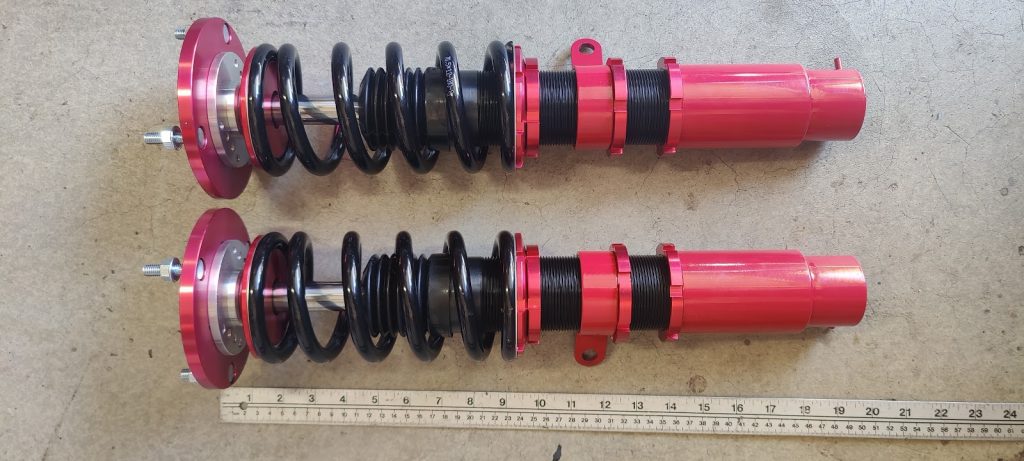
- Place both front coilovers next to each other and ensure that they are set evenly
- Note: it helps to use a meter stick to get them close; do not tighten any of the lock collars.
- Hang coilovers in place
- Raise front coilovers in place
- Note: be sure the camber plate is in proper orientation.
- Use the 13mm socket to install the 3 top hat bolts
- Raise front coilovers in place
- Install coilover into knuckle
- Slowly align and raise the knuckle up to the coilover with the floor jack
- Note: be sure to align the alignment pin with the slot in the knuckle.
- Raise floor jack until coilover is fully seated
- Use the 18mm socket, install the strut clamp bolt and brake line bracket
- Note: be sure to make this bolt very tight.
- Adjust coilovers
- To adjust ride height
- Loosen bottom lock collar
- Rotate the entire coilover assembly
- Tighten lock collar
- To adjust spring preload
- Loosen lock collar
- Adjust spring perch collar to appropriate height
- Tighten lock collar against spring perch
- Adjust sway bar end link mount
- Loosen lock collar
- Adjust height so that sway bar does not interfere with other components
- Orient the lock collar
- Tighten lock collar
- To adjust ride height
- Final assembly
- Use a mallet/hammer and the supplied coilover wrenches, ensure that all lock collars are sufficiently tight
- Use the 16mm socket and ratchet and 16mm wrench, reattach sway bar end link
- Final bolt check
- Complete front
- Install both front wheels
- Place 2×4 blocks under front wheels, and use the floor jack on the center jack point, lower vehicle
- Final tighten wheel bolts in a cross pattern
Step 4 Preparation (rear)
- Place 2×4 blocks under rear wheels, and roll vehicle on top of them
- Use the OEM wheel chock supplied next to the spare tire, place wheel chock in front of front wheel
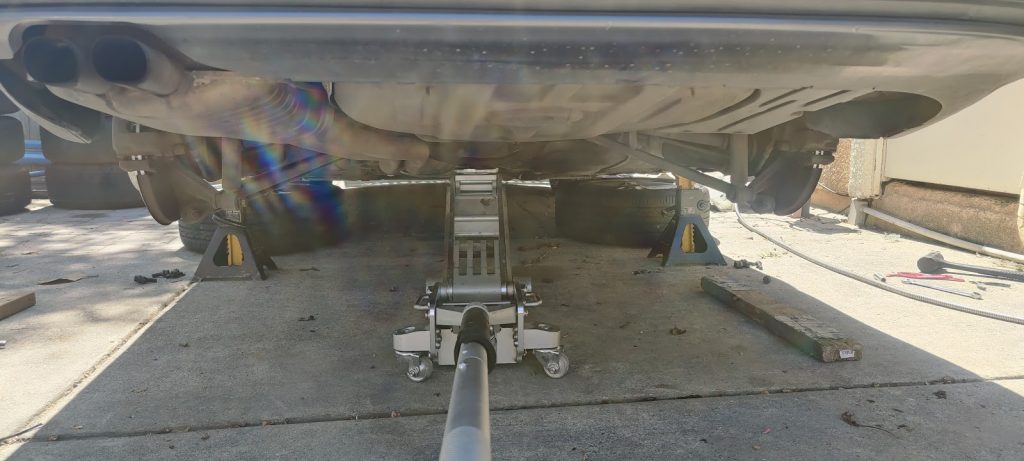
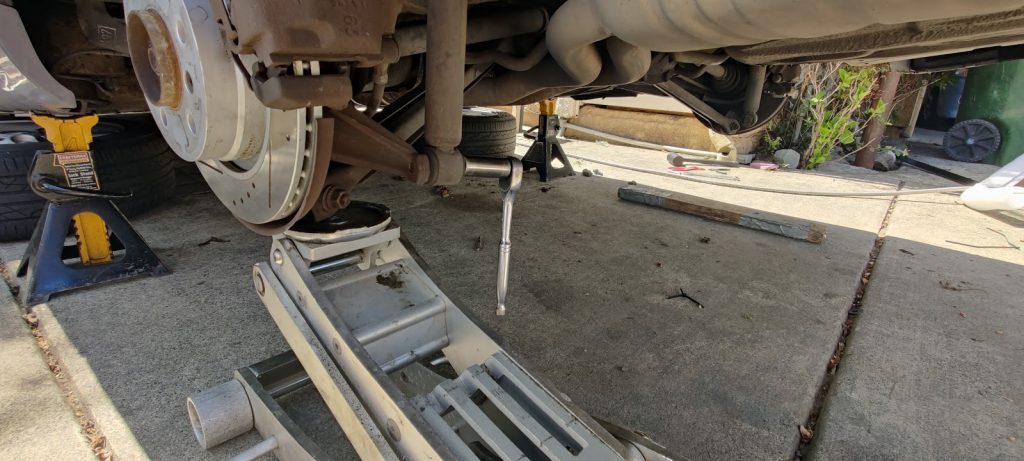
- Place floor jack under rear subframe and raise vehicle
- Note: do not place floor jack on differential.
- Place jack stands under rear jack points, and lower vehicle
- Shake test, and remove floor jack
- Remove rear wheels, and place under frame rails behind jack stands
Step 5 Removal of rear springs and shocks
Note: the following steps should be performed simultaneously on both sides of the vehicle in the following order.
- Place floor jack under the rear trailing arm, where the lower control arm mounts, and raise until the suspension raises approx. ¼ inch
- Use the 18mm socket, remove the bottom shock bolt
- Lower floor jack until suspension is free hanging
- Remove rear springs
- Note: using your hand or foot, you may need to push the suspension down to remove the spring.
- Unbolt rear shock top hats
- Remove rear tail light bulb housings
- Remove clips and pull trunk lining away from the sides
- Cut an access hole
- Use the 13mm socket, remove both nuts on both sides (be prepared to catch shock)
Step 6 Installation of rear springs and shocks
- Prepare spring adjusters and shocks
- Place all parts next to each other, and ensure they are set equal
- Install rear shocks
- Raise shock into place, and install the two 13mm nuts
- Note: it may be helpful to have someone assist by holding the shock in place.
- Install spring adjusters
- Put the large bolt through the large washer, and then through the bottom of the rear upper control arm
- Thread spring adjuster on bolt
- Use an adjustable wrench or 21mm wrench, tighten the spring adjuster on the control arm
- Install rear springs
- Place the large thin washer on top of the spring perch collar on the spring adjuster
- Place the factory rubber damper on top of the new spring
- Install rear spring
- Note: you may have to push the suspension down to install the spring.
- Install lower shock bolt
- Use the floor jack, raise the rear suspension until the hole on the shock lines up with the mounting hole
- Hand thread and tighten the lower shock bolt
- Once hand tight, using the 18mm socket and tighten the bolt fully
- Adjust
- To adjust ride height, this can be achieved by raising or lowering the spring perch collar on the spring adjuster
- Note: it may be easiest to remove the shock bolt, lower the suspension, and remove the spring for best access to the adjuster.
- To adjust droop, loosen the lock collar on the rear shock and adjust accordingly
- Once height and droop are adjusted, be sure to tighten lock collars, and use a mallet/hammer to tap the coilover wrenches tight
- Final assembly
- Complete a final bolt check
- Reinstall rear trunk liner and tail light bulb housings
- Install both rear wheels
- Place 2×4 block under rear wheels, and lower vehicle
- Tighten wheel bolts
Alongside the vehicle in the guide, Cameron has run these same model coilovers in a race prepared chassis that sees both road and raceway use on a daily basis. After almost 2 years of use and abuse, these coilovers haven’t faltered a bit! He told us that he can also confidently say that these coilovers are robust, and very strong, as with the nature of the raceway fender benders are no stranger.
