
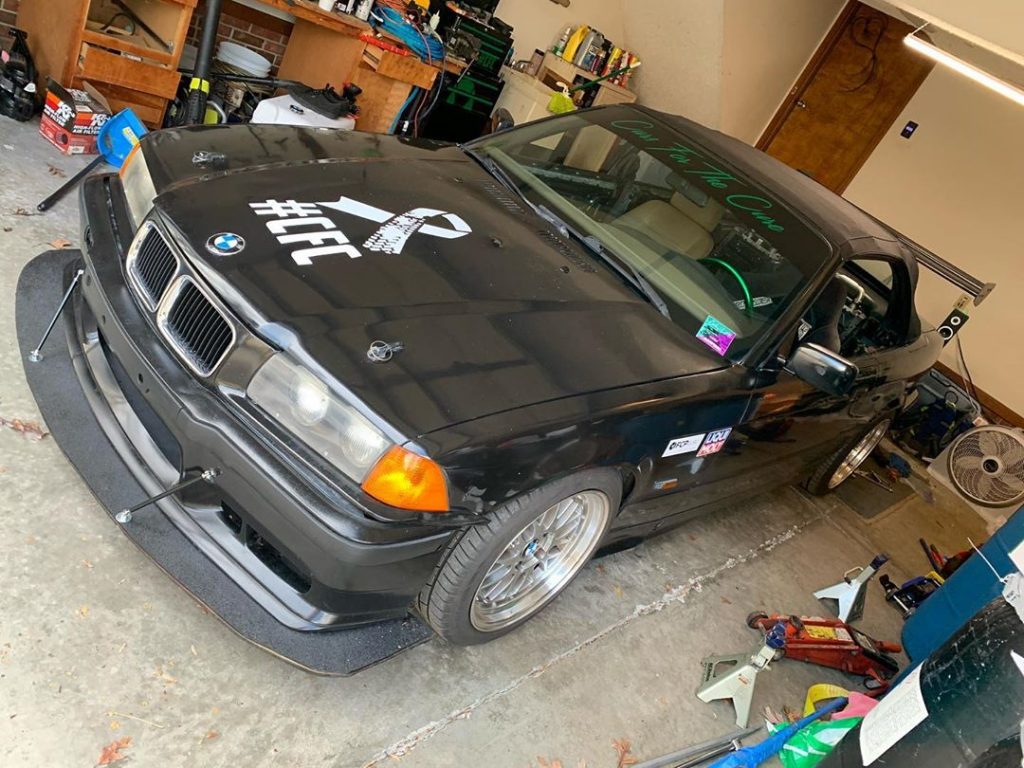
Editor’s note: The author of this article, Justin Okamoto, Founder of Cars For The Cure which is a non-profit automotive charity based out of Greenville, South Carolina. He has one simple goal, to partner with some great businesses and car clubs together in the fight against cancer. MaXpeedingRods would like to join him and give an effort to his e36 car.
The first impression of the overall build quality of these coilovers was actually quite impressive. As someone who has ran a set of MaXpeedingRod coilovers from years prior, I was shocked to discover that all of the components felt like higher quality parts, and more durable. The ease of adjustability on these new coilovers is also a wonderful factor. The dampening adjuster is just a click away from getting them dialed in exactly how you want them on the road or even the track.

Front install
The installation process is quite simple.
To remove your stock suspension, or old coilovers, open your hood (duh) in the front you have three 18mm bolts holding the bottom in place to the knuckle. Once you’ve removed those three bolts you can lower the knuckle down for more room for your arms.
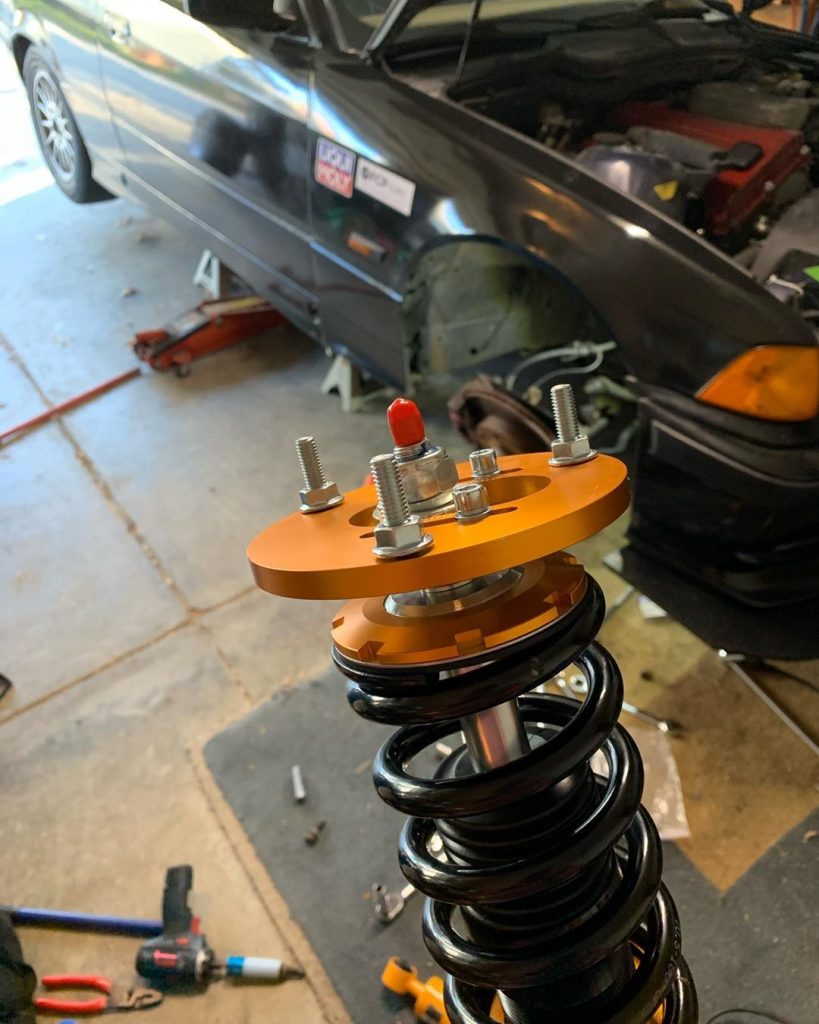
Then you have three 13mm threaded nuts on top to remove in order to pull the strut out. Once you’ve removed your old strut, grab one of your front coiler struts and get the three top mount bolts through the holes in the strut tower.
Make sure that your camber adjustment is perpendicular to the direction of the car so that your camber can be adjusted accordingly when you get an alignment.Now, thread the three 13mm nuts that come with the coilovers onto the bolts, enough to hold the coilover up while you’re installing the bolts into the lower portion.
Now, in the lower section, you will use the same 18mm bolts that you took out of the knuckle. There is an alignment pin, rather short and stubby, that’s in the middle between the two lower bolt holes on the knuckle itself.
You will also see a hole in the center of the coilover that the alignment pin goes into. Line that up, slide it in, and then take the two short 18mm bolts and tighten them down (remember not too tight, don’t want to snap the head off, ask me how I know).
Then all that is left is the top knuckle bolt. Push the bolt through the hole, you made need a dead blow hammer to get it through, and then thread the 18mm nut that came off of it back onto it. Again, tighten the bolt really well, as you wouldn’t want that to pop loose while you’re driving, remember not too tight.
Rear install
For the rear it’s just as easy.
With the car still in the air, of course, put a jack underneath the bottom of the trailing arm/control arm. You will see where the rear shock mounts to the trailing arm.
You want to take the pressure off of the shock enough so that when you take the 18mm bolt loose it doesn’t drop really quickly. You can break the bolt, damage the threads on the trailing arm, and even hurt yourself if you don’t have something holding the weight of the trailing arm when you remove that bolt.
Once in place, loosen the 18mm bolt from the bottom of the shock. Once removed then you can then start working on the top bolts. Now, this part is a little tricky since Justin’s car is a convertible. We had to prop open the top and the cover in order to have access to the top bolts, if you have a power top on an E36 then it’s easy to just stop while the top is in the second position.
There are two covers, one for each shock, pop those off. Then loosen the two 13mm nuts, on each side, and drop the shock down. Take the new coiler shock and go ahead and install it using the top 13mm nuts. Stop there, let the coilover hang there so that you can install the spring in the bucket.
In order to take the old spring out drop the jack all the way down so that the trailing arm drops as low as possible. Get a pry bar, wedge it in the outer mounting point of the bucket and push it down, pushing the trailing arm down even more. Once down far enough, you can pull the old spring out.
You may need a second set of hands to do this. Put the new spring base in place of the old one at the bottom of the bucket. Then put your new spring in. After that, put the spring perch on top of the spring. Now, pay attention to the spring perch as you jack the trailing arm back up so that you can run the 18mm bolt into the bottom of the shock, make sure that spring is lining up! Thread the bolt in and tighten it down.
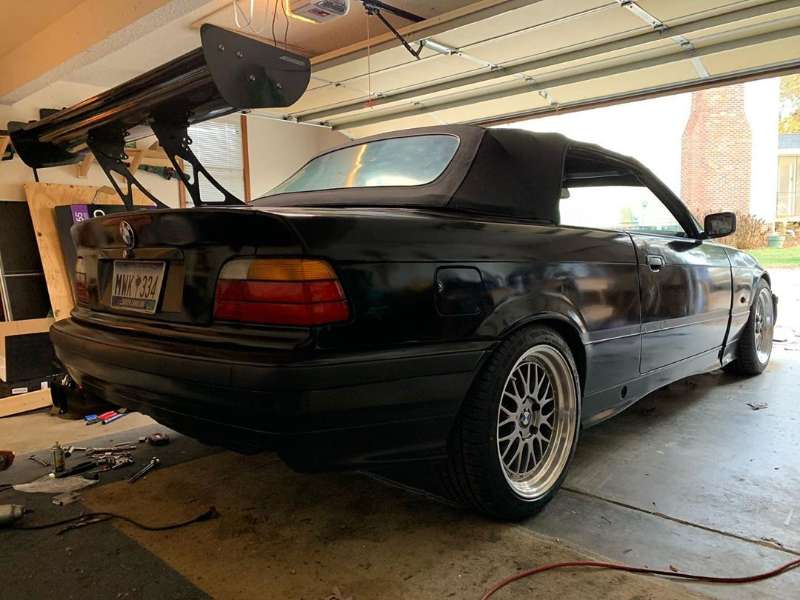
You’re all set! You can then adjust your coilovers to whatever height you need them to be by simply turning them up or down, depending on your preference, and using the lock collars provided to lock things in place. Some may choose to do this themselves, which is recommended for those wanting to learn.
See the full install video on Justin Okamoto’s YouTube channel.
DISCLAIMER: This article was authorized by Justin Okamoto and this install case is for reference purposes only. Always follow professional instructions on how to set this up correctly, MaXpeedingRods is not responsible for any damage caused by inappropriate installation.


